Introduction
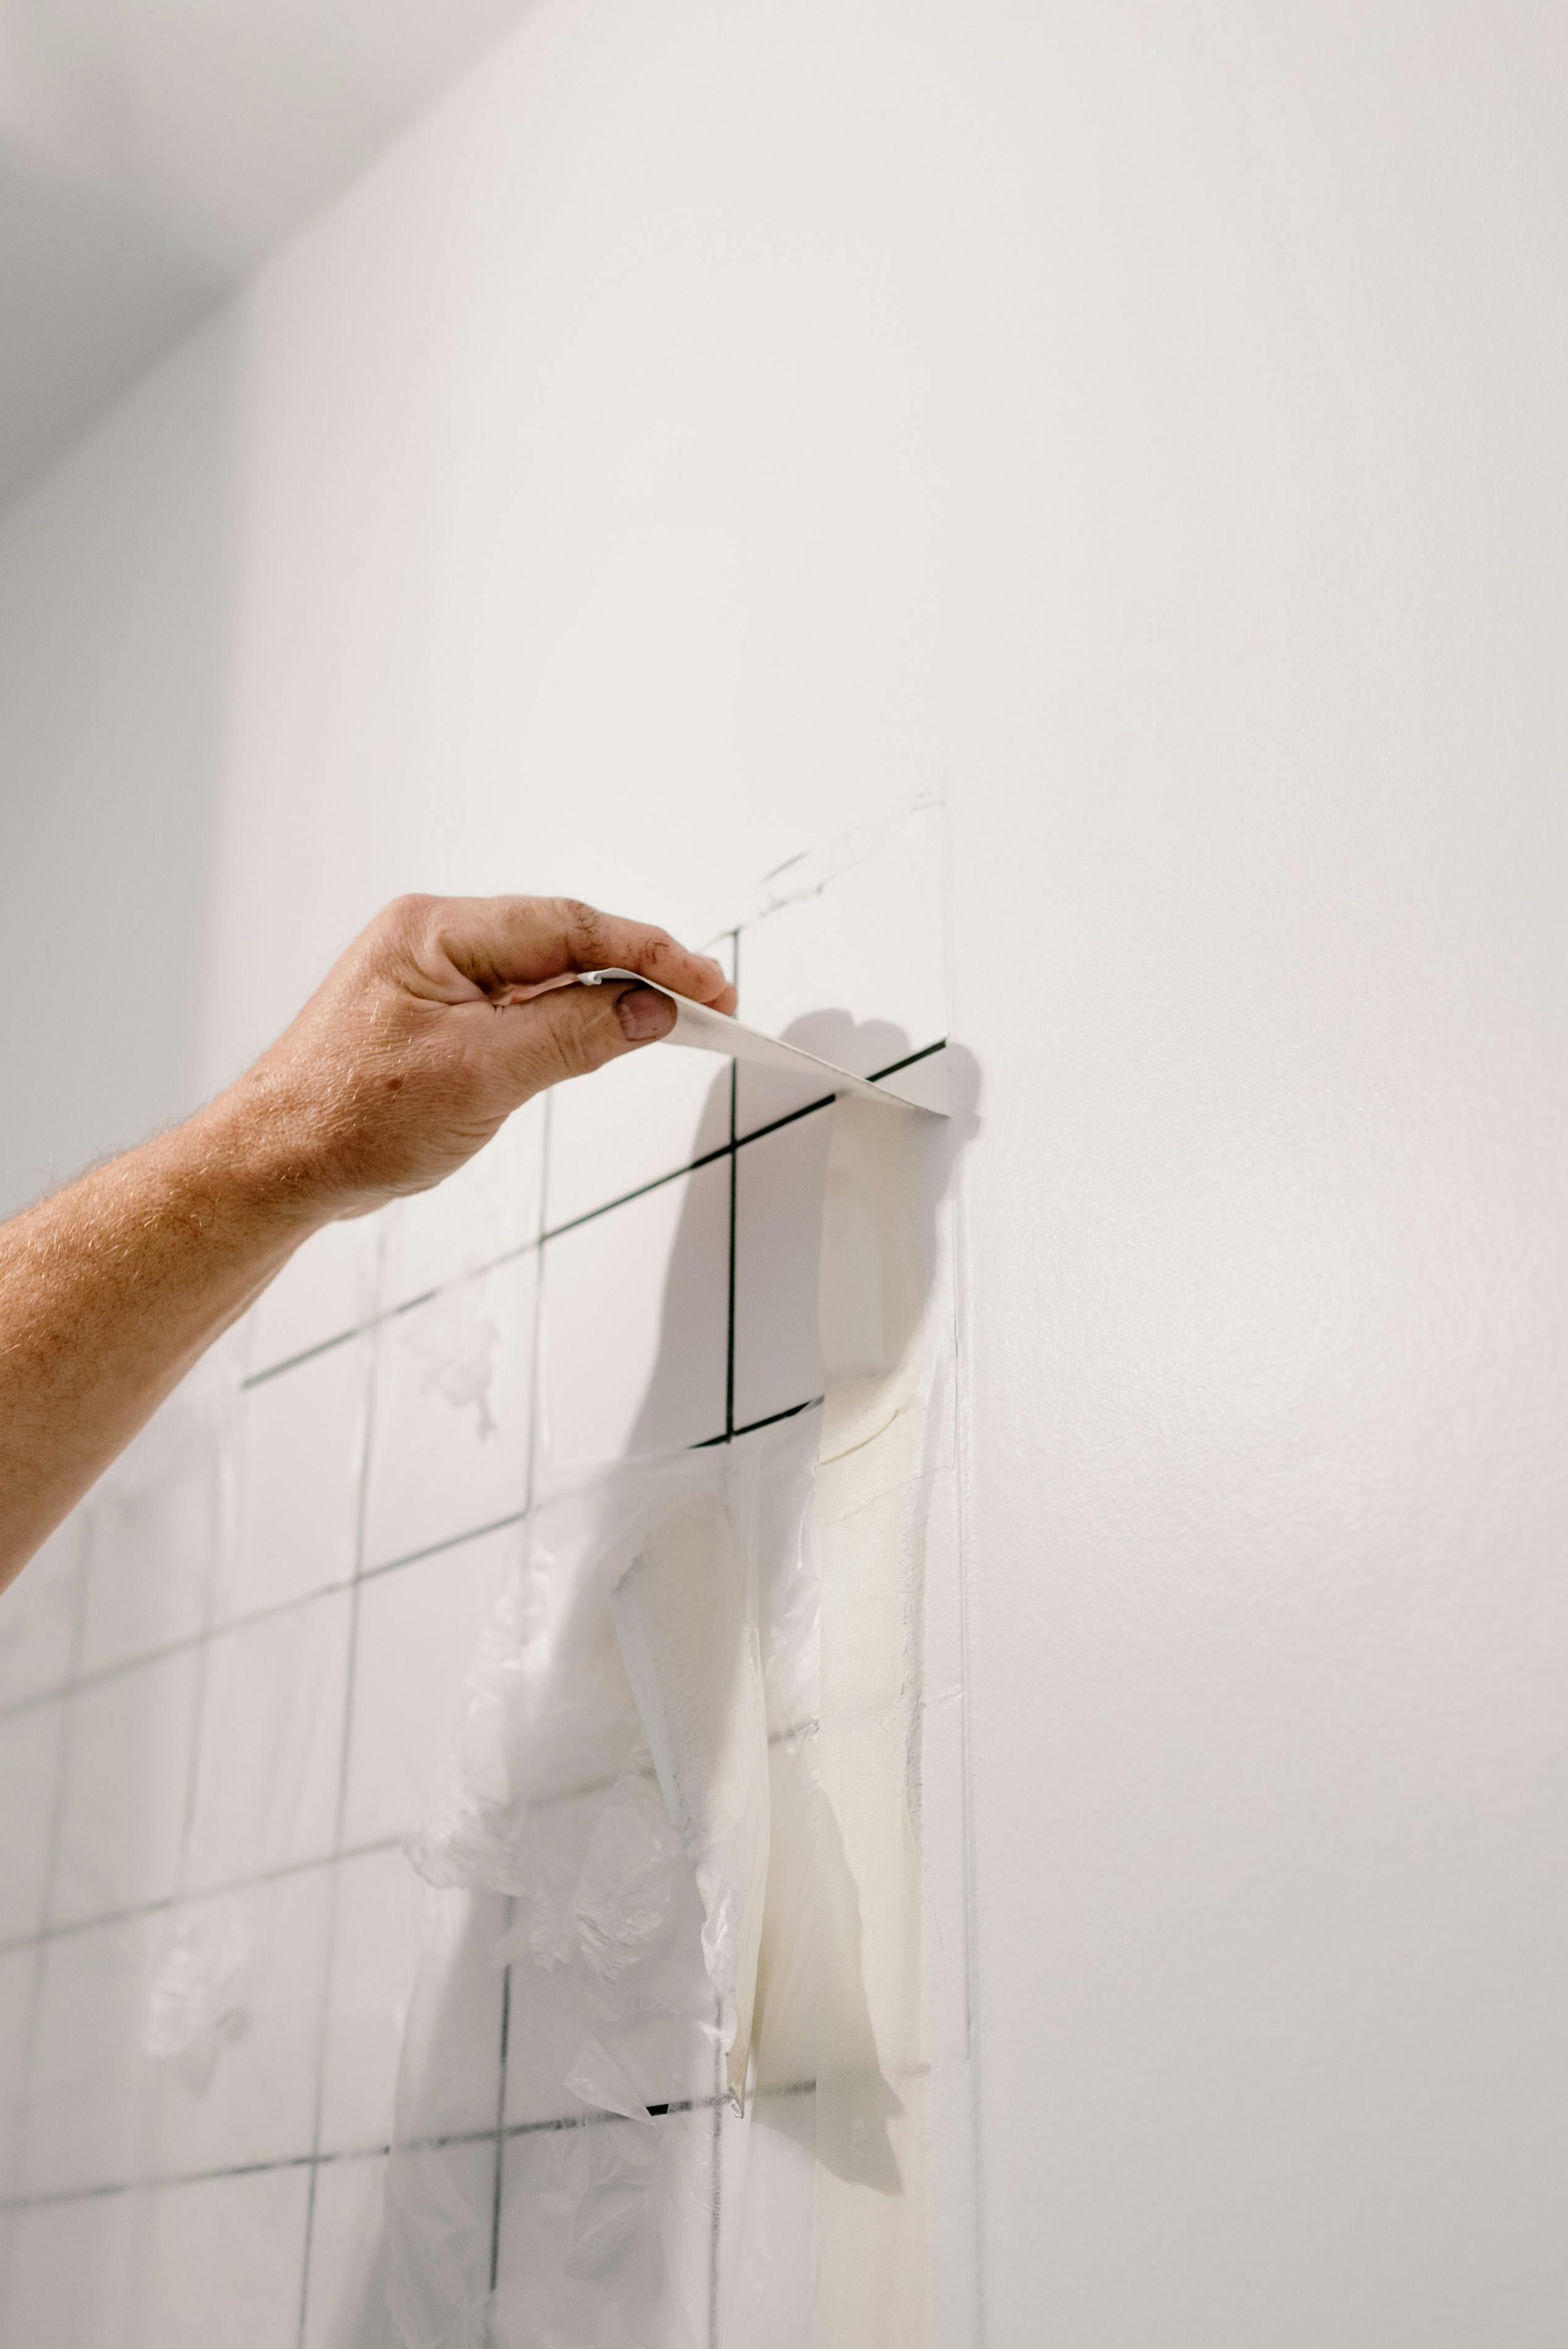
Welcome to our ultimate guide to successfully tiling over plasterboard. This comprehensive walkthrough provides step-by-step tips and strategies to guarantee a perfect outcome for your interior renovation project. Tiling over plasterboard is a task often undertaken in home improvement projects. Plasterboard provides a smooth substrate that is perfect for wall tile installations, making it a popular option for both DIY enthusiasts and professional renovators.
Understanding Plasterboard in Interior Renovations
Before we dive into the process of tiling over plasterboard, it's important to understand the role plasterboard plays in a building's structure. Also known as drywall or gypsum board, plasterboard is a material commonly used for making internal walls and ceilings in houses. Its appeal lies in its easy installation process compared to traditional plaster and lath techniques. Plasterboard presents a smooth, even surface that is ideal for wallpapering, painting, and yes, tiling!
The Key to Tiling Over Plasterboard: Preparation
Tiling over plasterboard isn't a complicated task if you're patient and thorough in preparation. Correct and meticulous preparation is key to ensuring that your tiling job doesn't crumble and fall off the wall or present an uneven surface. The method primarily involves ensuring the plasterboard is clean, stable, and primed correctly for tiling. Special attention should also be paid to areas that are likely to get wet, such as kitchens and bathrooms, as they require additional measures like using water-resistant plasterboards or sealing the plasterboard prior to tiling.
Essential Pre-Tiling Measures
Before you rush into your DIY tiling project, there are some conditions that the plasterboard needs to meet. Firstly, it needs to be in good condition, free of cracks or damage that could affect the tile adhesion. Secondly, it needs to be dust-free; a simple wipe with a damp cloth should suffice for this step. Lastly, the plasterboard needs to have been sealed with a PVA (Polyvinyl Acetate) solution or tile primer. This helps in creating a firm bond between the tile adhesive and the plasterboard. It's essential to remember that these steps shouldn’t be overlooked, as they directly impact the durability and the finish of the tiles over time.
Understanding Different Types of Plasterboard
While standard plasterboard is ideally suited for most tiling operations, it's key to remember that areas prone to heavy moisture or water exposure, like showers or basins, require water-resistant varieties of plasterboard. Water-resistant plasterboard, typically green in color, is specially treated to resist moisture. If using regular plasterboard in areas of high humidity, be sure to add a waterproofing process as a part of your tiling job. Waterproofing involves applying layers of a waterproof membrane to the plasterboard before tiling.
Structural Considerations
Before rushing into a plasterboard tiling project, it's crucial to ensure that the wall can handle the additional weight. Tiles, especially ones made of heavier materials like ceramic and stone, can put substantial stress on a wall. Consulting with a qualified professional is advisable if there's any uncertainty about your wall's weight-bearing capacity.
Concluding Thoughts
Tiling over plasterboard is an achievable DIY project for most homeowners. However, care needs to be taken to ensure proper preparation, correct application of materials, and due consideration to structural capacity. By adhering to the straightforward steps outlined in this comprehensive guide, you can give a professional touch to your home improvement project and avoid unnecessary hiccups.
Always remember, preparation is key when it comes to tiling, and especially so when the substrate in question is a plasterboard. Ensure that the plasterboard is in good shape, wipe away any dust, prime with PVA or tile primer, and only then proceed with your tiling project. With these steps duly followed, you are on your way to a flawless finish. Happy home-improving!