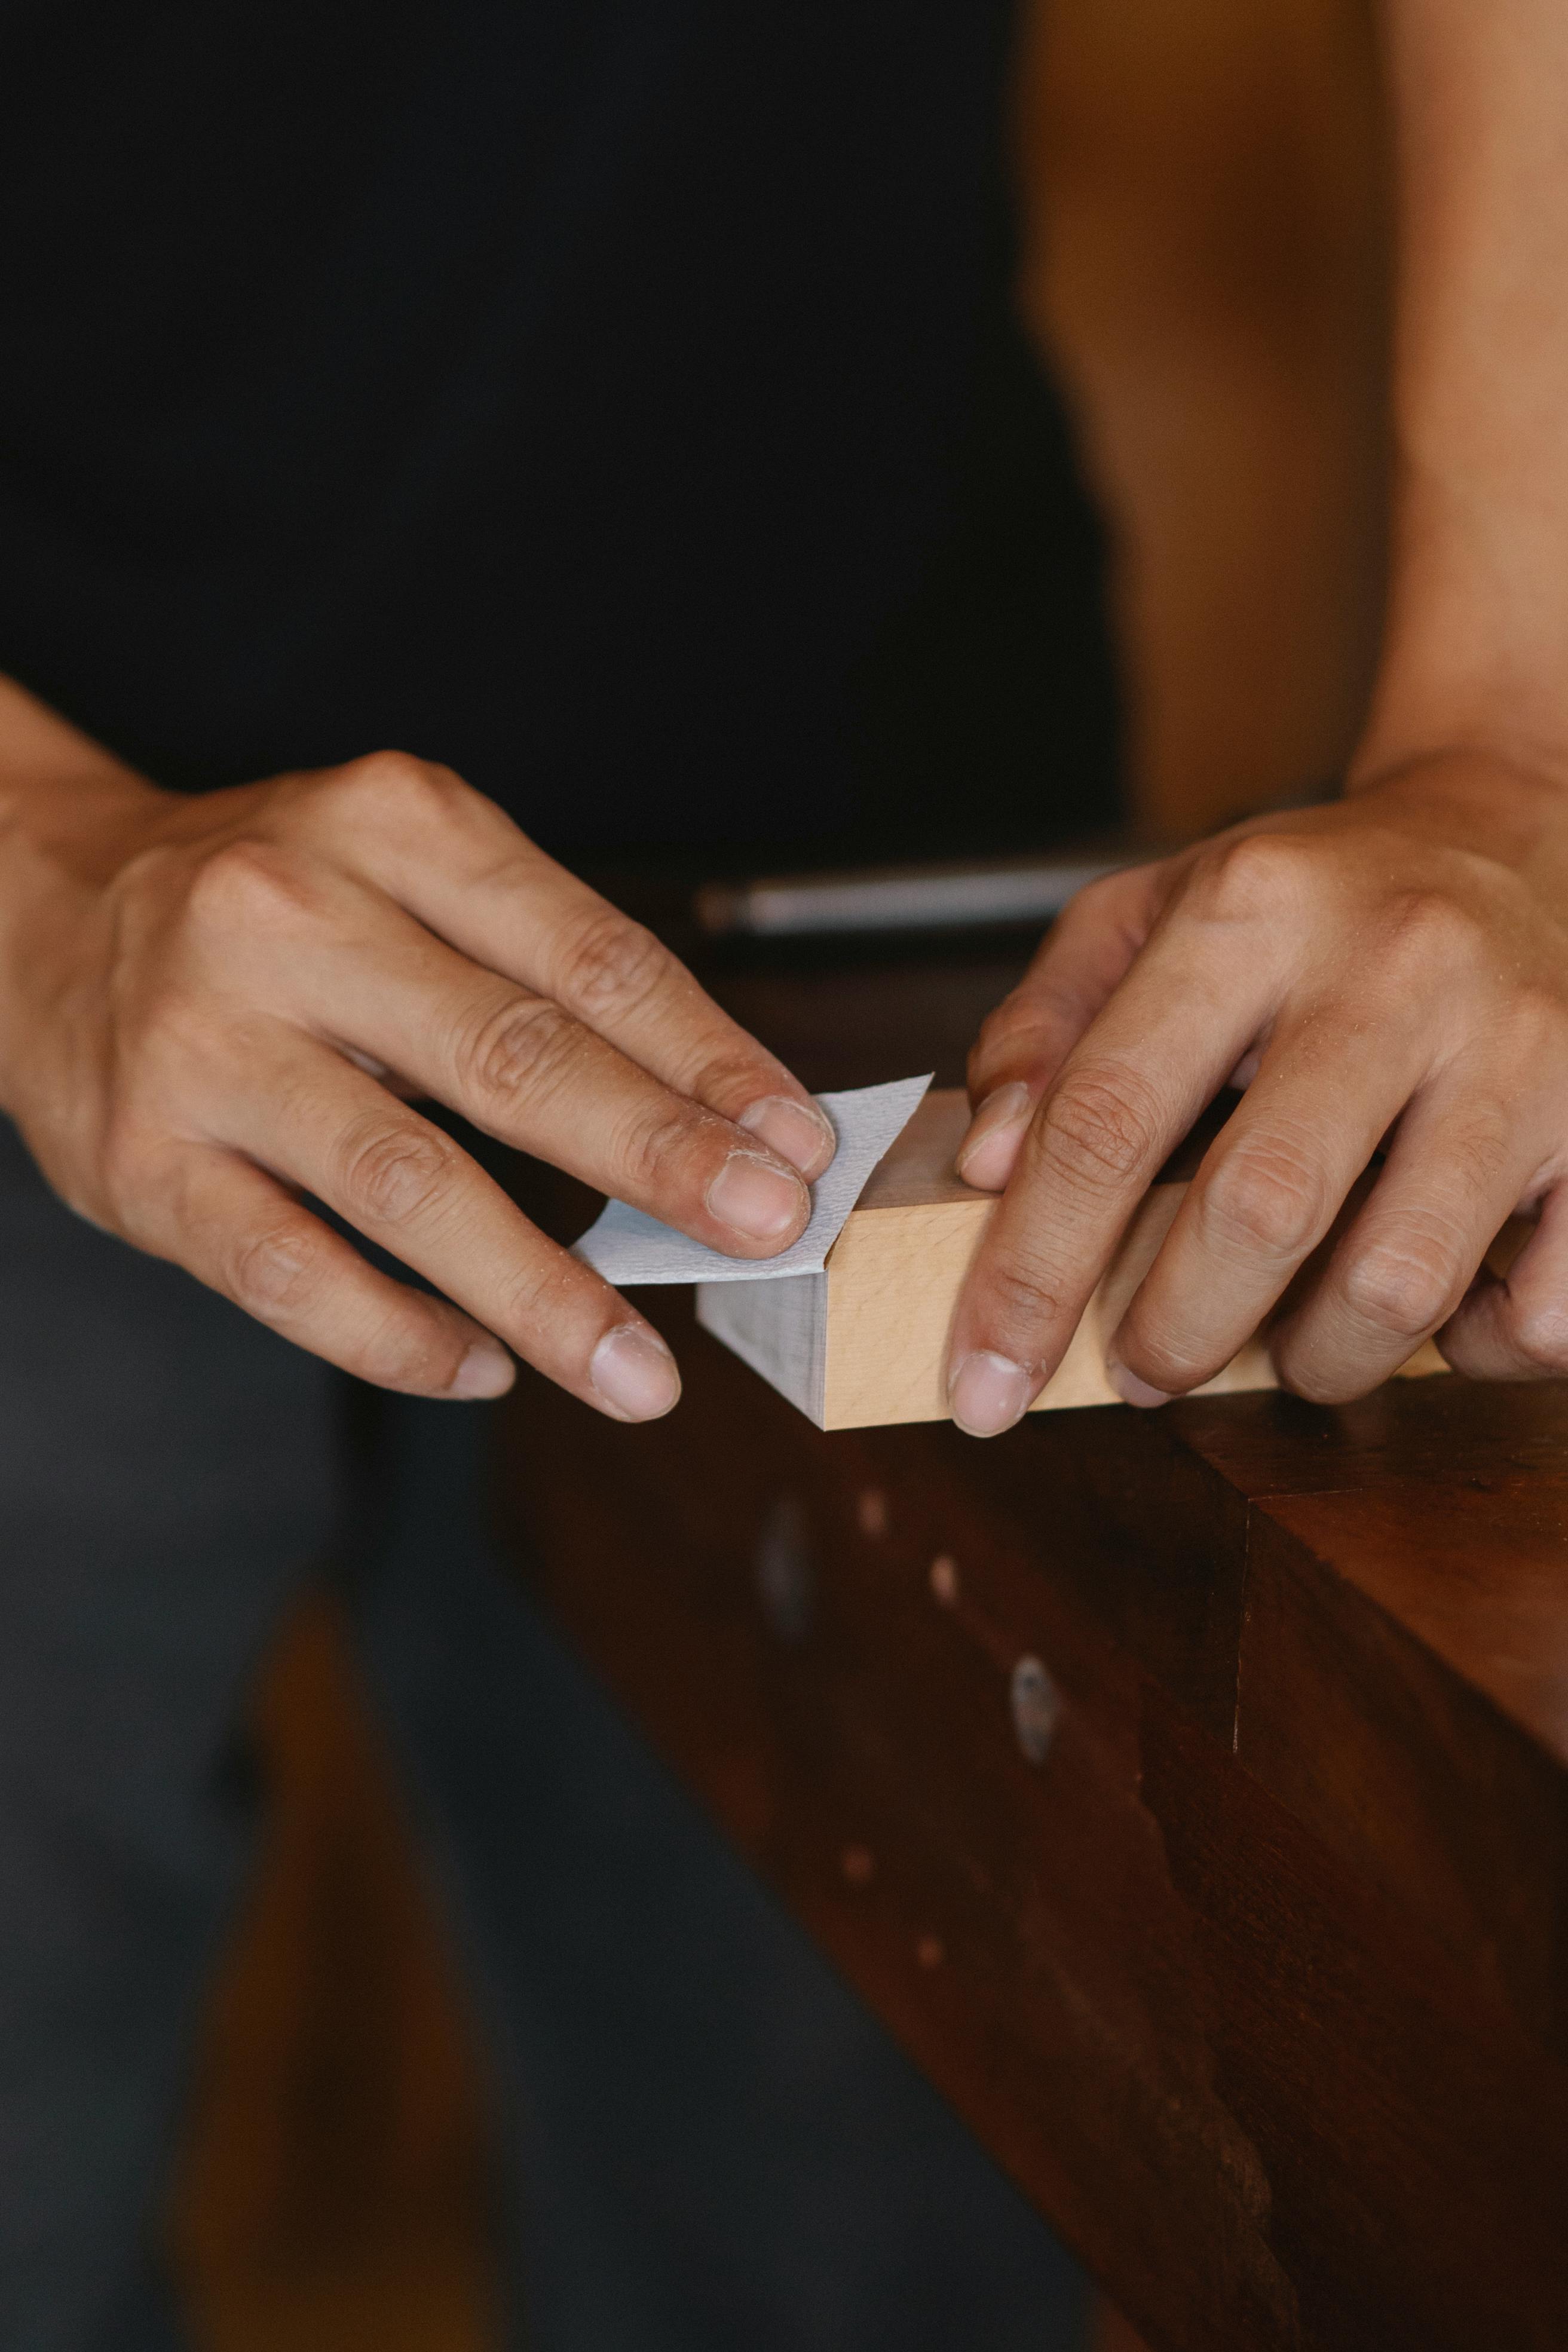
Introduction: The Aesthetics of Sanding Floorboards
Renovating and maintaining a home can be a creative and fulfilling process. Among the many tasks involved, sanding floorboards is a high-value one, transforming an old, scratched surface into a polished and appealing floor. This article, the 'Ultimate Guide to Sanding Floorboards: Step-by-Step Process for a Polished Home' will shed light on this seemingly daunting task and turn it into a manageable do-it-yourself procedure.
Why Sand Your Floorboards
Many homeowners decide to sand their floorboards out of desperation - their floor looks old and dingy, covered in layers of wax build-up and old varnish. But the truth is, there is a treasure under all that grime. Stripping away years of wear and tear can reveal beautiful hardwood that not only enhances the aesthetic appeal of your home but may also increase its value. For the preservation of these timeless features, it's essential to embark on the path of sanding floorboards adequately.
Understanding the Sanding Process: Step-by-Step Guide
Whether you're renovating an old building or just sprucing up your living space, the process of sanding floorboards can be broken down into 6 essential steps.
1. Preparation: Before diving right into sanding, it's essential to prepare the floor for what’s coming. This involves moving furniture out of the room and off the floor, taking out any nails, or screws and filling any gaps in the floorboards.
2. Choosing the Right Sander: To make the process easier, you need to ensure that you have the proper tools. For large areas, a drum or belt sander may be required, whereas for the edges and corners of the room, an edge sander should suffice.
3. Sanding the floorboards: Start by sanding in a diagonal motion across the room. This can help to flatten the floor and remove any old finish or varnish. As you sand, be diligent and take care not to leave unsanded spots.
4. Changing the sandpaper: Begin the sanding process with coarse-grit sandpaper and gradually move to a finer grit as you continue. This process helps to smooth the floor and prepares it for finishing.
5. Final Sanding and Cleaning: The last round of sanding should be done with the finest grit sandpaper. This phase ensures that the floor is smooth and ready for sealing. Following this step, thoroughly vacuum or sweep the floor to remove any remaining dust and debris.
6. Sealing the Floor: After the rigorous process of sanding and cleaning, the floor is now ready to be sealed. This involves applying a stain or a sealer that will protect your freshly sanded floor while enhancing its natural beauty.
Bid Adieu to Common Sanding Mistakes
Sanding is a procedure that demands precision and patience. To ensure a flawless outcome, avoiding common mistakes like sanding in the wrong direction, rushing the sanding process, not changing the sandpaper often enough, or skipping the essential final cleaning stage could save the day. Always remember: the key to a stellar finish is taking your time and executing each step of the sanding process meticulously.
Conclusion: Enjoy Your Newly Sanded Floorboards
Now that we've laid out the step-by-step process of sanding floorboards, it's time to roll up your sleeves and transform those worn-out floorboards into a picturesque hardwood floor. Donning a pair of gloves and a dust mask, getting down and dirty has never been this rewarding. After all, nothing beats the gratification of looking at a glossy, refinished floor, knowing you've breathed new life into your room.
With our 'Ultimate Guide to Sanding Floorboards: Step-by-Step Process for a Polished Home', we trust you felt empowered and encouraged to take on the floorboard sanding process with confidence and enthusiasm.