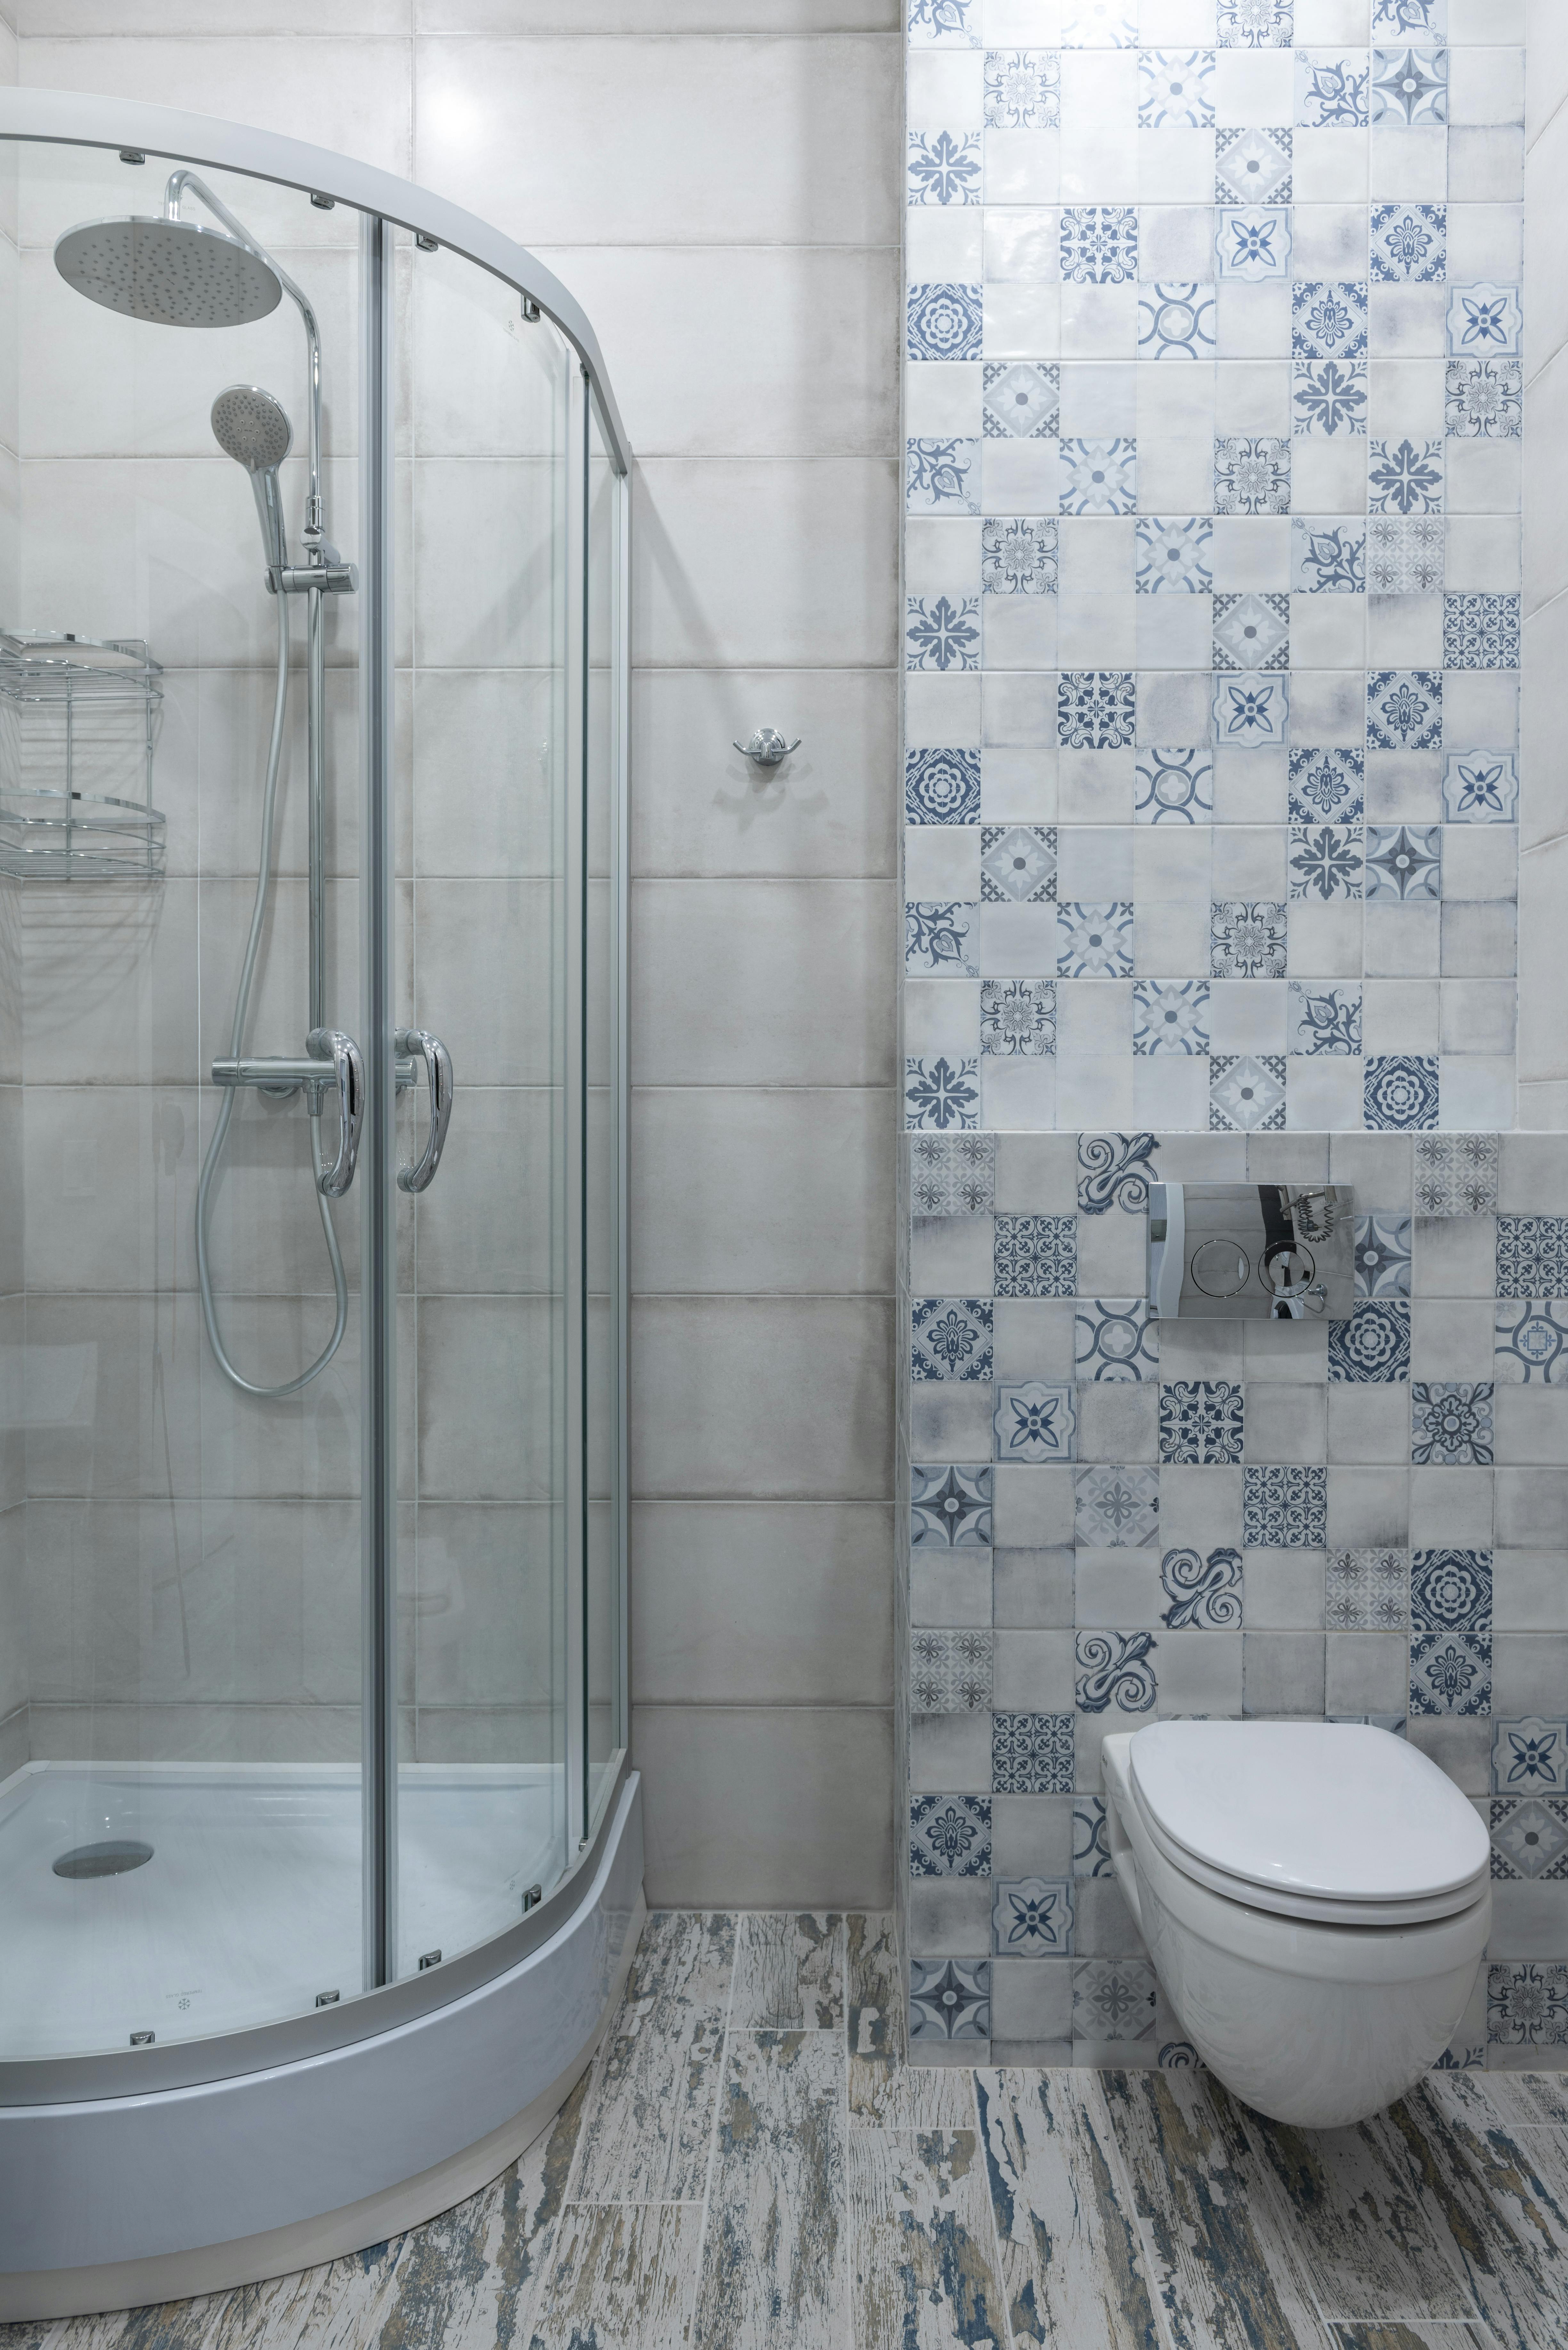
Introduction: The Impact of a Well-Tiled Bathroom Floor
Home improvement enhances your living experience, increases the value of your home, and this significantly involves your bathroom, where tiling the floor can drastically transform its overall aesthetic and functionality. Choosing the ideal tile and correctly tiling a bathroom floor improves water management, augments safety, and offers an impressive appeal to your home's interior. This article provides a comprehensive user-friendly step-by-step guide on how to tile a bathroom floor to elevate your home improvement game.
The Preliminaries: Tools and Materials for Tiling Your Bathroom Floor
In the realm of home improvement, particularly in tiling a bathroom floor, preparation alongside the right tools and materials is key. First, you'll need tiles of your choice, tile adhesive, spacers, grout, a grout float, a trowel for spreading adhesive, a sponge, and a bucket. Measuring tools, a cork sanding block, a tile cutter, a tile saw, and safety gear are also essential.
Step 1: Preparing Your Floor for Tiling
A proper foundation for tiling your bathroom floor is imperative to ensure the longevity and aesthetics of the finished floor. Critically inspect the floor for any damaged areas, repair any flaws, and ensure its level before you start laying the tiles. Removing the toilet and any other obstacles will create a free working space. Additionally, it's essential to clean the floor thoroughly to eliminate debris which might interfere with the adhesive.
Step 2: Setting Out Your Tiles
After preparing the floor, the next step involves setting out your tiles. This exercise aids in visualizing the final layout and helps in making adjustments before fixating them permanently. Start by dry laying your tiles from the center of the room towards the walls, using tile spacers between each tile to ensure even spacing.
Step 3: Mixing and Applying Tile Adhesive
The proper mixture and application of tile adhesive on your chosen tiles are the next vital steps. Mix your tile adhesive as instructed by the manufacturer. Then, use a notched trowel to spread the adhesive on the back of the tiles and place them on the prepared floor. Be mindful of the layer of adhesive you apply. It should neither be too thick nor too thin, just right to firmly hold the tile in place.
Step 4: Cutting and Laying Your Tiles
Custom cutting tiles to fit around edges, corners, and obstacles is a potent skill in home improvement. For tiling a bathroom floor, you may need a tile cutter or a tile saw for precise cuts. Always wear safety glasses to protect your eyes while cutting. Once cut, apply the adhesive and lay them just like the other tiles, maintaining the space with tile spacers.
Step 5: Grouting the Tile
After the tiles are properly laid and the adhesive has dried, the next step is grouting. Mix your grout according to the manufacturer's directions and apply it across the tiles using a grout float. Make sure the grout lines are fully filled. Wipe off any excess grout with a clean, damp sponge before it hardens.
Step 6: Sealing the Grout
The final step involves sealing the grout to protect it from discoloration and dampness. After the grout has fully dried (usually 24 hours), apply a grout sealant as per the instructions on the sealant packaging.
Conclusion: The Expert Touch in your Home Improvement Endeavors
Tiling your bathroom floor can be an engaging do-it-yourself home improvement project. It not only enhances your bathroom's aesthetic appeal but also significantly boosts your property value. By adhering to these steps, you are well on your way to masterfully transforming your bathroom into a picturesque sanctuary. Happy home improving!
Remember, home improvement is not just about perfecting your household but also about creating a comfortable and enjoyable living experience. Hence, it's essential to make well-informed decisions and execute them meticulously for your home improvement activities — especially if it's about tiling your bathroom floor.