Introduction: The Importance of Ceiling Spotlights in Home Decor
Ceiling spotlights, a quintessential component of modern home decor, can dramatically enhance the glamour of any space. This versatile lighting option not only illuminates your rooms but also allows you to emphasise specific aesthetics, creates ambiance, and even adds depth to the area. However, fitting ceiling spotlights can be a challenging task if you're not familiar with the steps involved. This article will guide you through a step-by-step process to fit ceiling spotlights, contributing to your DIY home improvement skills.
Step 1: Plan Your Ceiling Lighting Layout
The first step in installing ceiling spotlights is planning your lighting layout. This planning phase is crucial as it avoids any rework and helps you determine the number and position of spotlights required to optimally illuminate the room. Start by assessing the size and shape of the room, then consider the areas you'd like to emphasise. Usually, larger rooms require more spotlights to create an even distribution of light without forming any shadow patches. While planning, keep in mind that spotlights should be placed at least 2 feet away from the walls to prevent light casting onto the upper wall.
Step 2: Prepare the Necessary Tools and Safety Measures
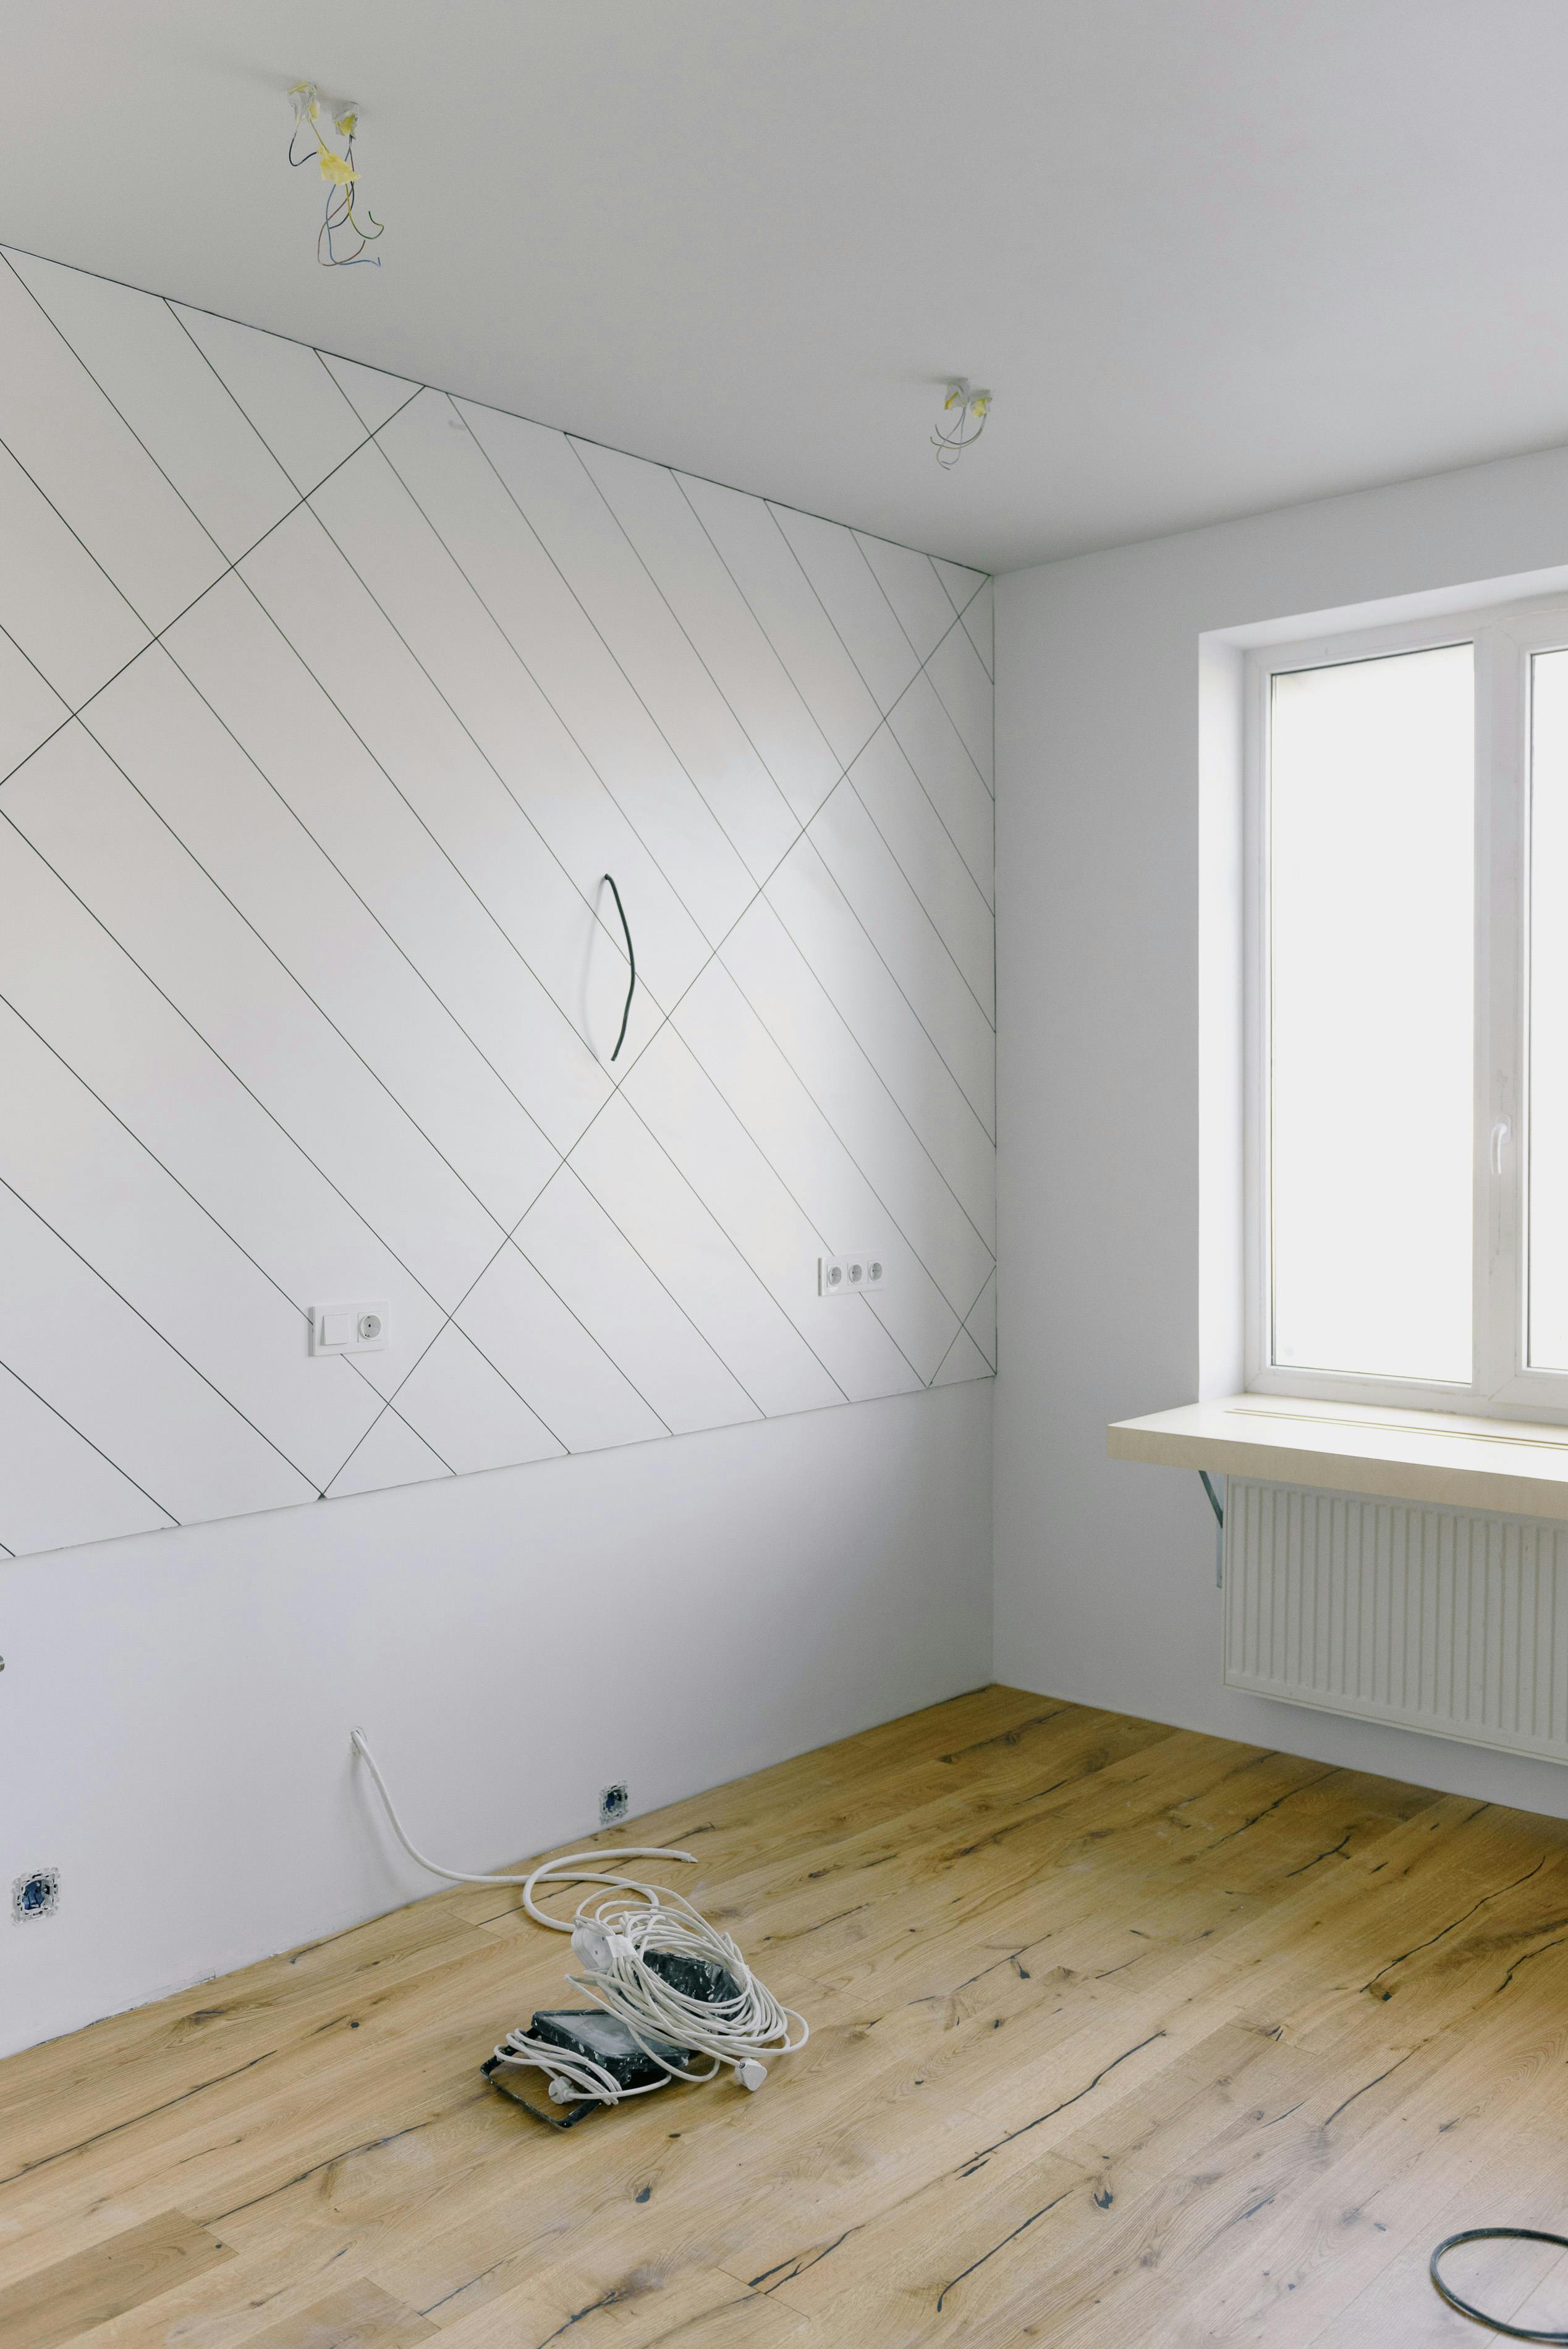
Once your lighting layout is planned, gather your tools. The necessary tools usually include:
- a ladder
- a power drill
- hole saw drill bit that matches the size of your spotlights
- wire strippers
- screwdriver
- electrical tape.
Safety should always come first in any DIY project. Before you start working, switch off your main electricity breaker to prevent any electrical accidents. Wear protective gear, including safety glasses and insulated gloves, to ensure personal safety during the installation process.
Step 3: Mark and Drill the Holes for Spotlights
Following your lighting layout, mark the ceiling locations where each spotlight will be fitted. Use a pencil to make the markings visible. Then, with the correct size hole saw bit mounted onto your drill, create holes at each marked location. Make sure the holes align well with your original plan.
Step 4: Connect the Wiring
In most cases, spotlights should have a loop-in, loop-out terminal block for electricity supply. Start by routing the incoming supply cable into the terminal block, then strip the cable ends using wire strippers, revealing the copper conductor. Next, securely connect the live, neutral, and earth wires into the corresponding terminal block compartments. Repeat this process for the next spotlight, using the outgoing cable you just connected.
Step 5: Fitting the Spotlights
Before fitting the spotlights into the holes, ensure that the wiring has been correctly connected and the spotlight fittings are firmly attached. Once everything is in order, gently place the spotlights into the pre-drilled holes. Spotlights typically have spring clips that help secure them to the ceiling. Finally, screw the light bulbs into the fittings and restore the power supply.
Concluding Thoughts
Installing ceiling spotlights can be an excellent DIY project for those willing to elevate their home decor skills. It offers an opportunity to redefine your space by manipulating light and shadows. Although the task may seem daunting at first, following this step-by-step guide should empower you to undertake a DIY spotlight installation confidently.
Remember, always prioritize safety and ensure you're working with the power turned off. If you encounter any complications along the way, don't hesitate to reach out to a professional electrician. A well-lit room is a welcoming one, so don't shy away - light up your space with ceiling spotlights!