Introduction
Interior renovation is a vibrant field that keeps evolving with the tides of taste and fashion. One aspect that remains constant, however, is the desire for a fresh, creative look, and one way to achieve this is through painting. A commonly asked question is whether one can paint matt over silk. Silk paints have a high sheen level and do not absorb paint well, therefore painting over them can be tricky. But don't worry; the answer is yes, you can! This article provides a step-by-step guide on how to successfully paint matt over silk to help you navigate through this challenge.
Understanding Matt and Silk Paints
Firstly, it's crucial to understand the difference between matt and silk paints. Silk paint is oil-based and has a glamorous sheen to it. This makes it resilient to moisture and excellent for rooms like bathrooms and kitchens. Matt paint, on the other hand, is water-based and has a flat, non-reflective finish ideal for masking imperfections on walls and ceilings. Applying matt paint over silk can lead to peeling or flaking if not done correctly due to the non-absorption feature of silk paint.
Preparing Your Wall for Painting
To ensure the success of any painting job, preparation is key. First, you’ll want to clean the silk-painted wall with a mild detergent. This step is essential to remove any accumulated dirt, oils or grease that may hinder the adhesion of new paint. Use a soft, non-abrasive sponge to clean without causing any damage to the wall surface. After cleaning, allow the wall to dry completely before moving to the next step.
Sanding the Wall
After your wall is completely dry, the next step is to lightly sand the surface. Sanding helps create a surface that the new paint can adhere to. Using 120-grit sandpaper, lightly sand your wall in circular motions. Remember, your aim is not to remove the paint, but to provide texture for the new paint to stick. Once you're done sanding, wipe away the dust with a damp cloth or use a vacuum cleaner.
Applying a Primer
Once the wall is clean and sanded, it's now time to apply a primer. Priming is a crucial step to ensure the matt paint adheres well to the silk paint underneath. A primer essentially provides a base for the new paint to stick to. Use a specialty primer designed for glossy surfaces. When applying, ensure you cover all areas well for a uniform appearance. Once you've finished applying the primer, allow it to dry completely.
Painting with Matt Paint
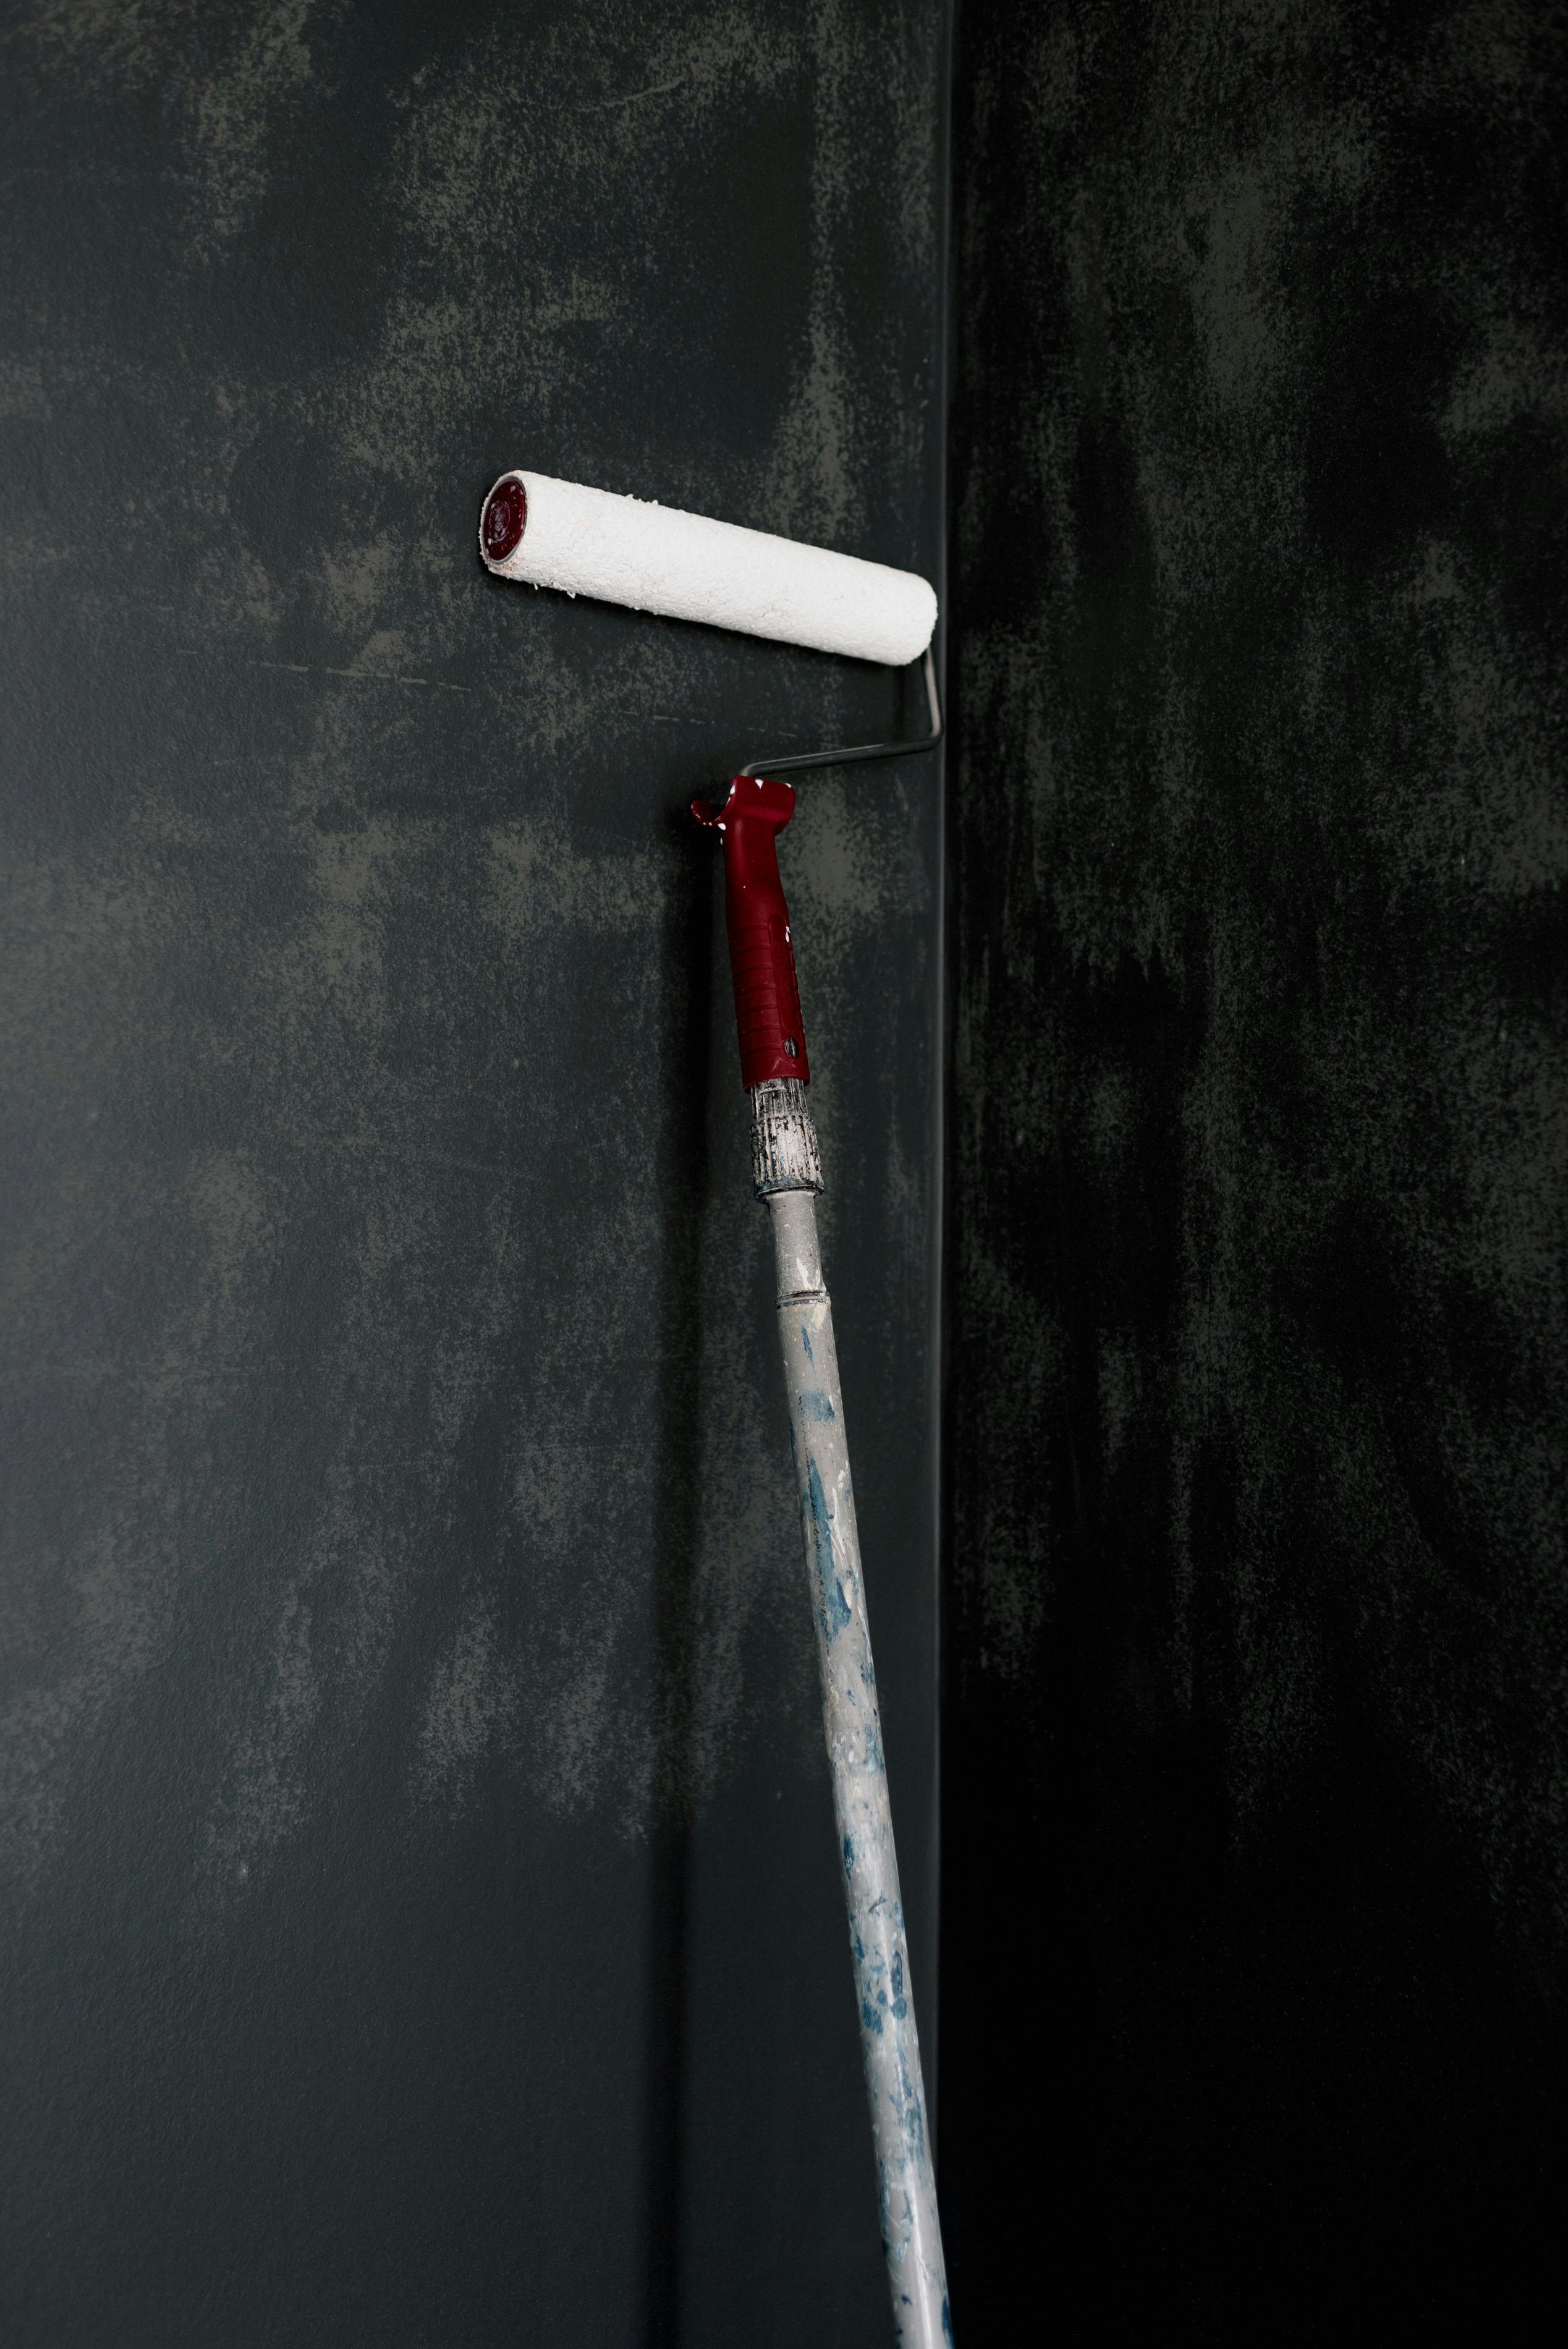
Now comes the moment you’ve been waiting for, painting with matt paint. Before starting, stir the paint thoroughly. Using a clean paintbrush or roller, start applying your matt paint on the primed wall. Remember to paint in one direction to maintain an uniform look. Allow the first coat to dry as per the manufacturer’s instructions before applying the second coat. After the second coat is dry, your wall will have a new, stunning matt finish!
Conclusion
The process of painting matt over silk may seem daunting at first, but with the right preparation and tools, it can be straightforward. By following this step-by-step guide, you can transform your shiny silk walls into elegant, matt finished walls, all while adding a touch of your personal style to your interior space. Interior renovation no longer needs to feel like an uphill task but can be an exciting journey as you create a beautiful, comfortable home. Following the best practices in painting ensures the longevity of your paint job and a seamless finish that adds life and vibrancy to your spaces.
Painting matt over silk is just one more way to realise your creative interior renovation dreams. So roll up your sleeves and make your home improvement dreams come true today!