Introduction: The Art of Skirting Board Removal
Skirting board removal is a practical skill to master, whether you're planning a home renovation, preparing for decorating, fixing an electrical issue, or addressing hidden damp problems. Though potentially intimidating for a DIY novice, the process can be successfully accomplished with careful preparation, the proper use of tools, and a step-by-step approach. This article bestows a comprehensive guide on safely removing skirting boards in your home.
Why Should You Know About Skirting Board Removal?
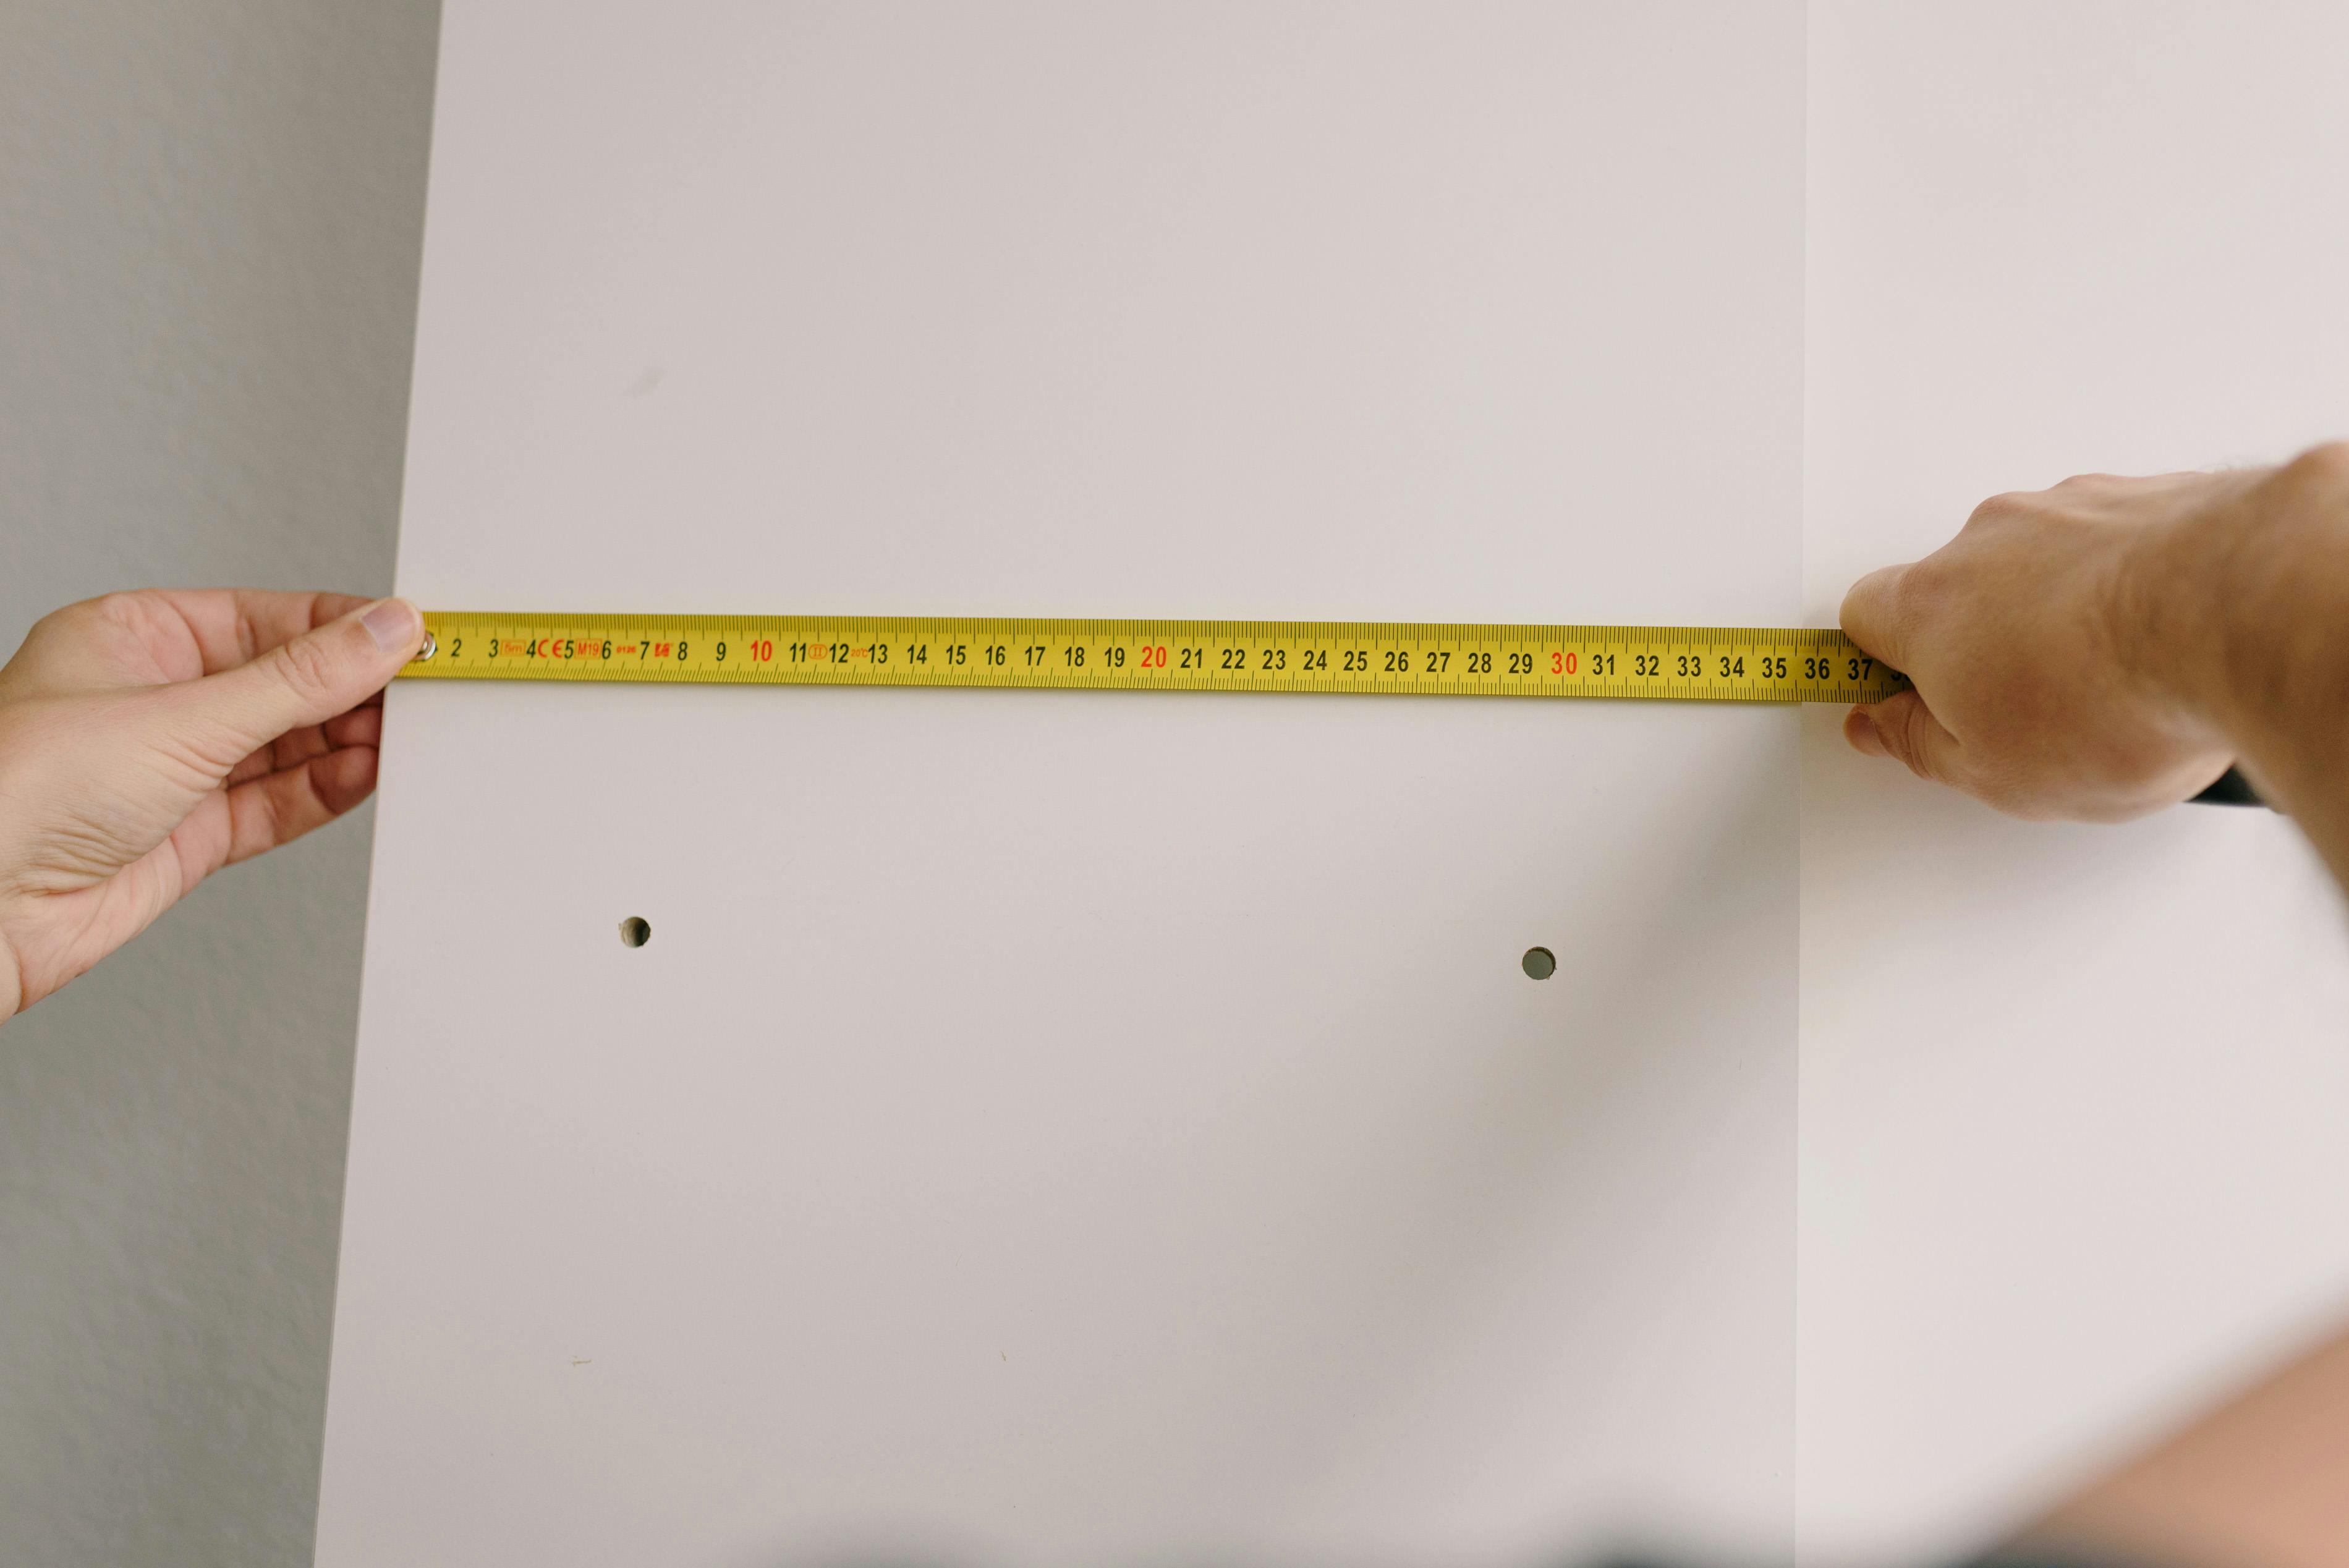
Skirting boards, or baseboards, provide your rooms with that added charm, as well as protect your walls from unsavory scuffs and marks. However, there are times when these boards need to be removed, either due to wear and tear or for home improvement projects. Knowing how to remove skirting boards safely and efficiently without causing damage to the wall or floor will not only save you a significant amount of potential repair costs but also provide you with an invaluable DIY skill.
Preparation: Essential Tools For Removing Skirting Boards
Getting prepared is the first step towards a successful project. When removing skirting boards, having the necessary tools on hand ensures a smoother, more efficient process. These tools include a utility knife, crowbar, hammer, chisel, scraper, safety gloves, and goggles.
The utility knife helps break the paint seal between the wall and skirting board, while the crowbar and hammer help to carefully pry the board away from the wall. The chisel can help you navigate tricky corners or stubborn sections, and the scraper can clean up any remaining adhesive after the board's removal. Lastly, don't forget about safety - the gloves and goggles will provide the necessary protection during the process.
Step-by-Step Guide: Safely Removing Skirting Boards
The process of removing skirting boards can be a careful balancing act. It requires patience but also decisive action. Here's a step-by-step guide to effectively remove skirting boards in your home:
1. Cut Along The Edges: The first step involves breaking the paint seal between the skirting board and the wall. This is achieved with the utility knife. Go along the top and bottom of the skirting board, ensuring you create a clear break.
2. Wedge The Crowbar: Using your hammer, carefully insert the flat end of the crowbar between the skirting board and the wall. It's advisable to do this at a nail point, so you reduce the likelihood of damaging the wall.
3. Leverage The Skirting Board: Once the crowbar is in place, gently apply pressure to it. This leveraging action will slowly separate the skirting board from the wall.
4. Remove The Skirting Board: Continue the gentle pressure, moving along the length of the skirting board. In time, it will fully separate from the wall.
5. Clean The Area: Once the skirting board is removed, use the scraper to remove any remaining adhesive residue. Ensure the area is clean before installing a new skirting board or proceeding with other tasks.
Conclusion: Patience is the Key
Removing skirting boards from your walls is no small feat. It requires careful maneuvering and exact precision. However, as this step-by-step guide shows, it's a process that anyone can master with a little patience and practice. Grab your tools and get ready to give your walls a fresh new look. This handy DIY skill will save you time and money and provides a great stepping stone to mastering other DIY tasks around the house. With each board you remove, you improve your home and grow your confidence in your DIY capabilities.
Remember, as with any DIY job, safety must always come first. Always make sure to wear protective gear and take your time. A little patience goes a long way in ensuring the job is done right the first time, so grab your tools and get started on mastering the art of the removal of skirting boards today!