Introduction to Artex and the Challenge of Covering it Without Plastering
Traditional home interior designs often showcase the unique beauty of Artex, a surface coating primarily used to create decorative effects on walls and ceilings. While Artex adds a nostalgic charm and distinctive look to homes, modern designs to tilt towards the sleek, clean lines. This shift in aesthetic preferences drives many homeowners to explore tips and tricks on how to cover Artex without plastering. This guide explores the efficient ways of transforming your Artex-coated surfaces, negating the necessity of professional plastering, ultimately, making it an easy home improvement project.
The Easy Art of Covering Artex
Plastering has long been the go-to solution for covering Artex. However, with continuous advancements and wider product availability, the process of home improvement has become considerably more efficient and user-friendly. By choosing alternative methods and products to cover Artex, homeowners can save on time, money, and avoid any potential health risks associated with removing or disturbing old Artex that contains asbestos. This guide is here to provide a roadmap to easy Artex coverage, transforming your space without the need for plastering.
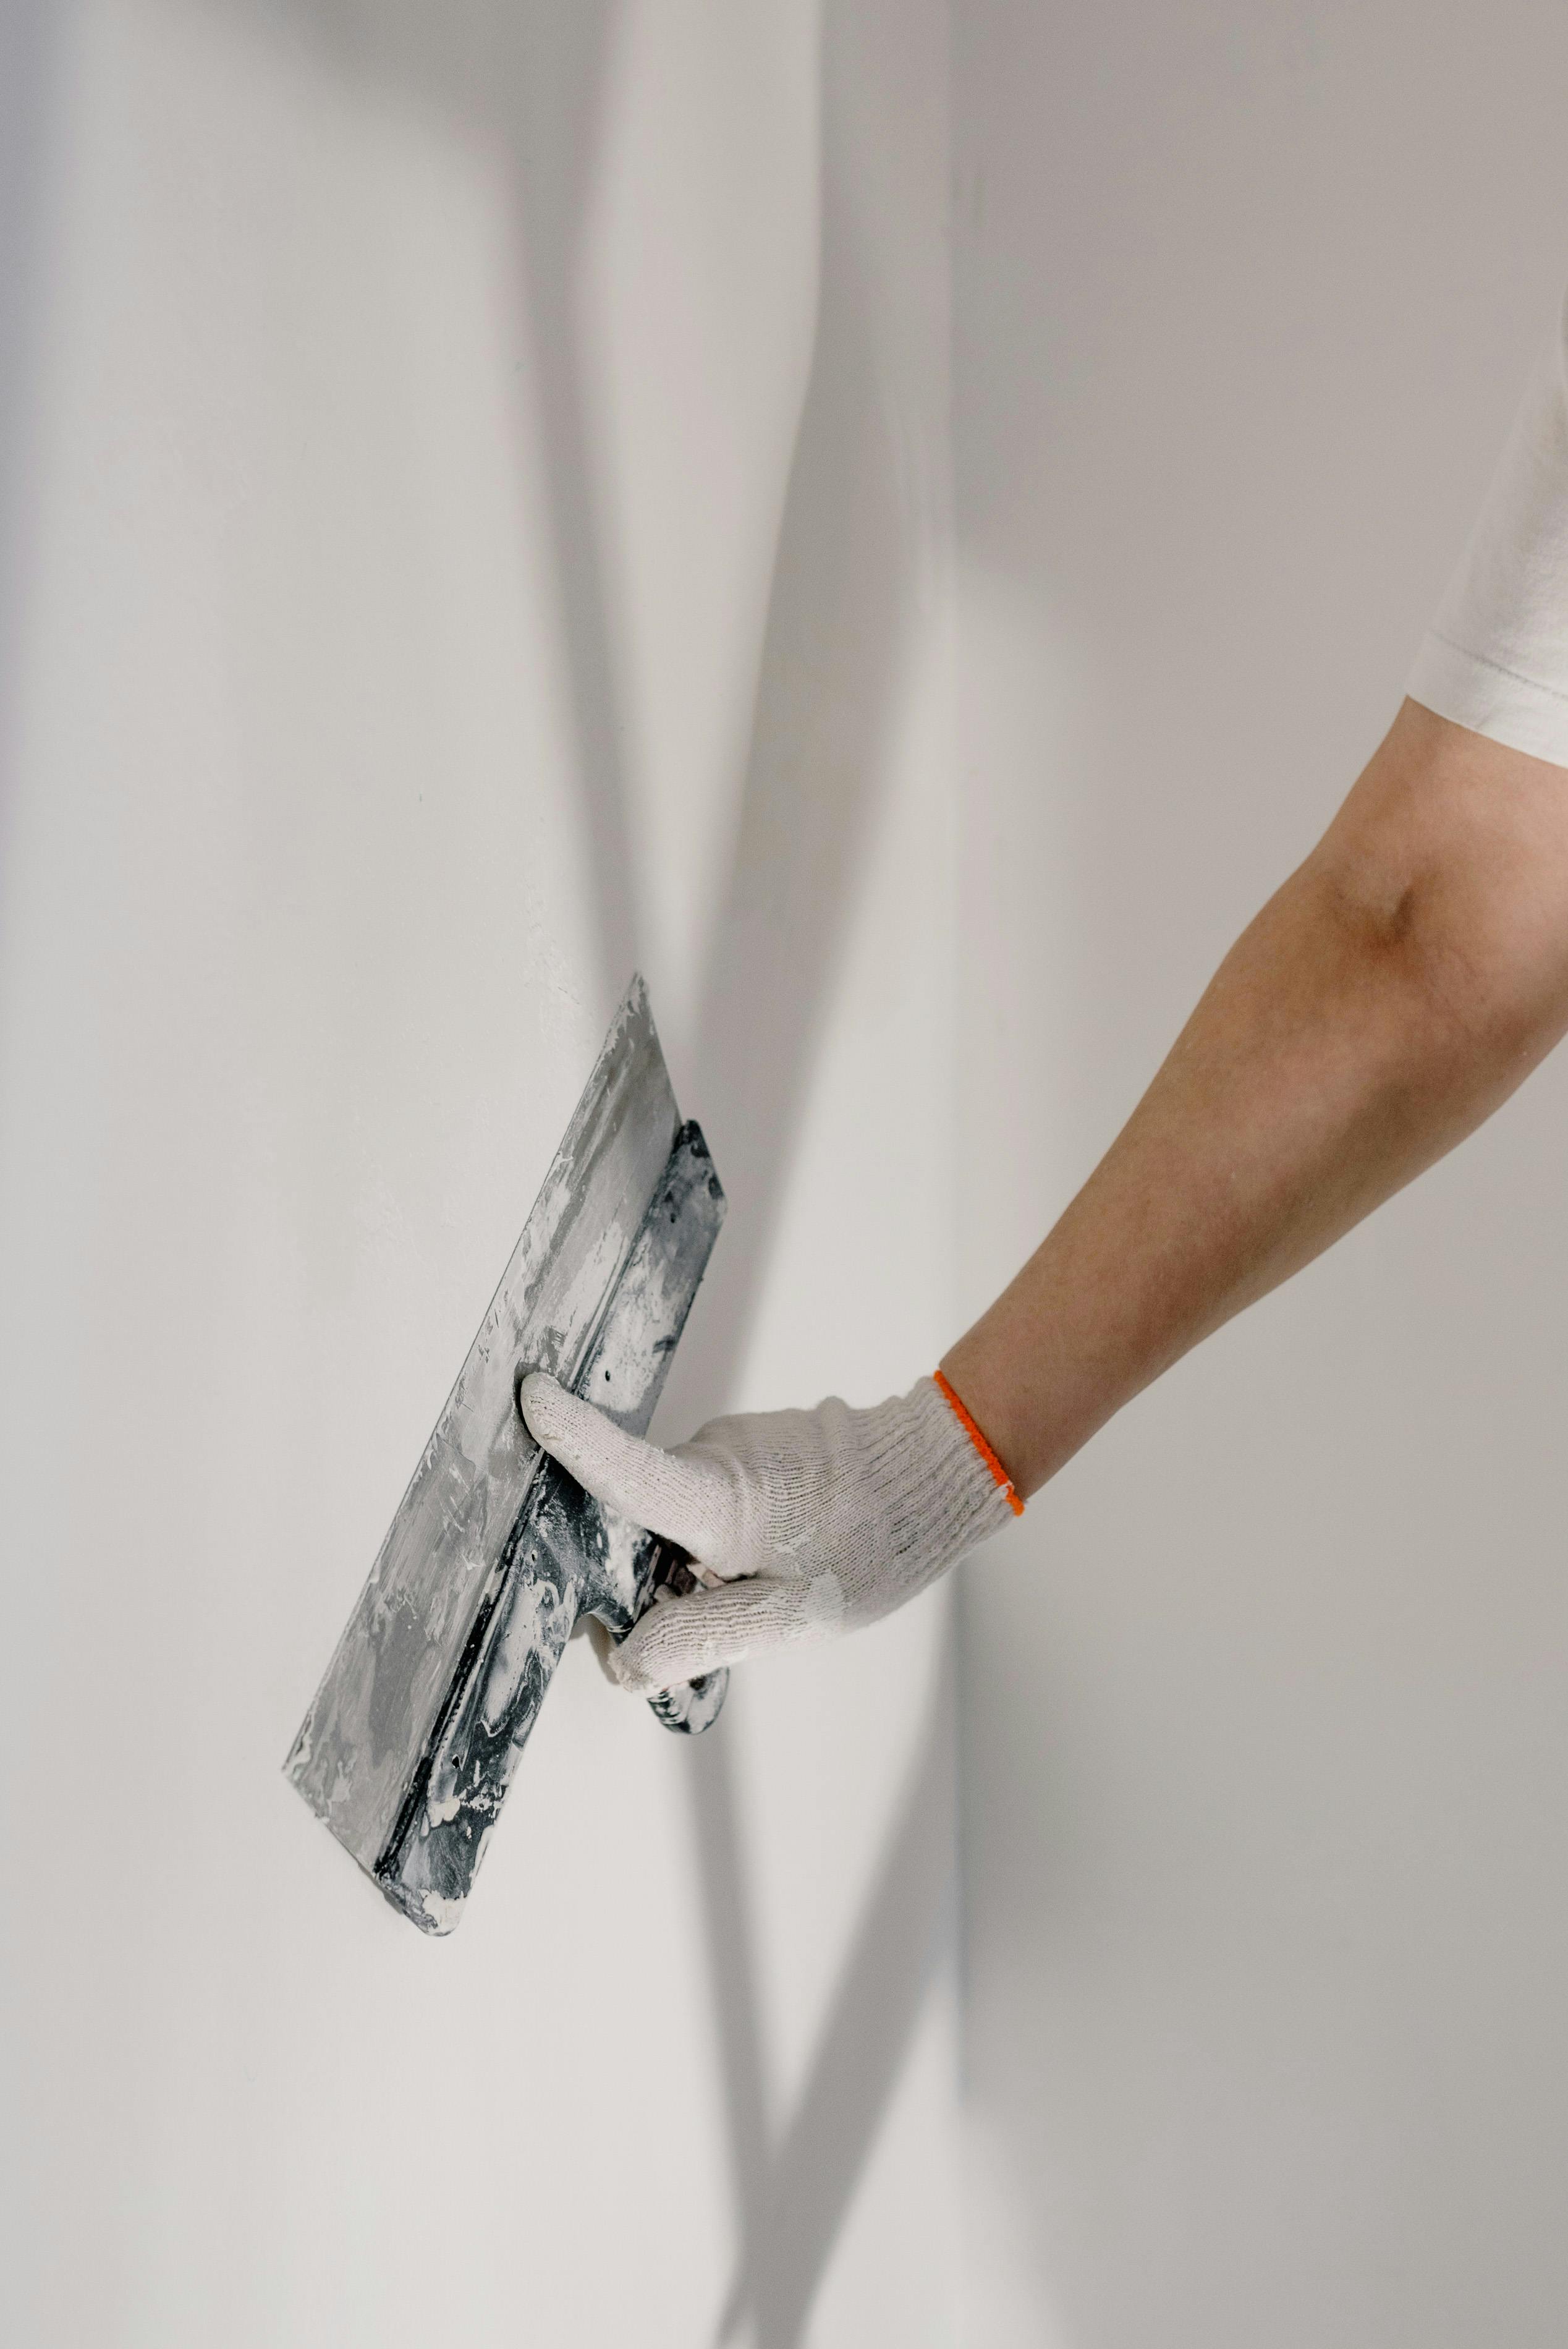
Step 1: Preparing the Surface
The initial stage of covering Artex without plastering is arguably the most crucial step – preparing the surface. This entails cleaning and ensuring the surface is as smooth as possible. The cleaning helps to get rid of any grease, dust, or cobwebs, providing a clean slate for application of new materials. Smoothing out the surface may involve sanding down any high ridges in the Artex pattern, giving a more even base for the additional layer coverage. Always remember, the smoother the surface, the better the final result.
Step 2: Use a Stabilising Primer
Before applying any coverage material to the surface, ensure you use a good quality stabilising primer. A stabilising primer is crucial to ensuring the surface is well prepared for further treatment, providing a foundation for the application of the subsequent layers. This product helps to seal any porous or chalky surfaces and provides an adhesive surface for the next steps of your Artex covering process.
Step 3: Choose your Covering Material
Investing time to choose the right covering material is key as this will determine the overall visual effect. While plastering is the traditional method, using lining paper or special Artex paint provides a simpler, less messy alternative. The use of thick, high grade lining paper is an excellent choice for giving a smooth finish, while special Artex paint enables homeowners to maintain the iconic textured finish of Artex while refreshing the color and feel.
Step 4: Apply the Covering Material
The application process varies greatly depending upon the covering material chosen. If using lining paper, make sure that the paper is well pasted and applied smoothly to avoid air bubbles or wrinkles. Should you opt for special Artex paint, ensure the first layer is thin, allowing it to dry fully before applying subsequent coats until the desired effect is achieved.
Conclusion: The Effortless Transformation of Artex
Covering Artex without plastering may initially appear as a daunting task. However, with the right preparation, selection of hygienic materials, and technique, the process becomes surprisingly manageable. More than just an easy home improvement project, it's a creative venture that adds character and freshness to your house.
Embrace the challenge today by preparing your Artex surfaced rooms for a do-over -- without having to worry about plastering. Refer to this guide repeatedly, and soon, you'll be navigating the process like a pro. Transform your Artex surfaces into sleek, modern finishes with these easy steps.