Introduction - The Importance of Waterproofing MDF
Medium Density Fibreboard (MDF) is a versatile and highly economical material used across numerous home improvement projects. But when it comes to moisture exposure, MDF can commonly fall apart without proper protection, often resulting in costly replacements. This article, a comprehensive guide to making MDF waterproof, provides a detailed step-by-step process and useful tips to ensure your MDF-surrounded designs withstand the test of time and weather.
Understanding MDF and the Need for Waterproofing
Before delving into the waterproofing process, it's critical to understand what MDF is and why waterproofing it is essential. MDF is engineered wood made by combining tiny wood fibers with glue under pressure. It's popular for its affordability, workability, and uniform texture, making it perfect for furniture, cabinets, and decorative trims.
However, MDF is highly absorbent. It readily soaks up moisture from the environment, leading to swelling, warping, and eventually breaking down. Waterproofing MDF is crucial to enhance the durability of your furniture or woodwork projects, especially those situated in damp environments or exposed to liquids frequently.
Materials You'll Need to Waterproof MDF
The process of making MDF waterproof is not a complex one, but it requires specific materials. Many of these are standard home improvement items, and they all play a crucial role in making your MDF water-resistant:
1. Waterproof paint or primer
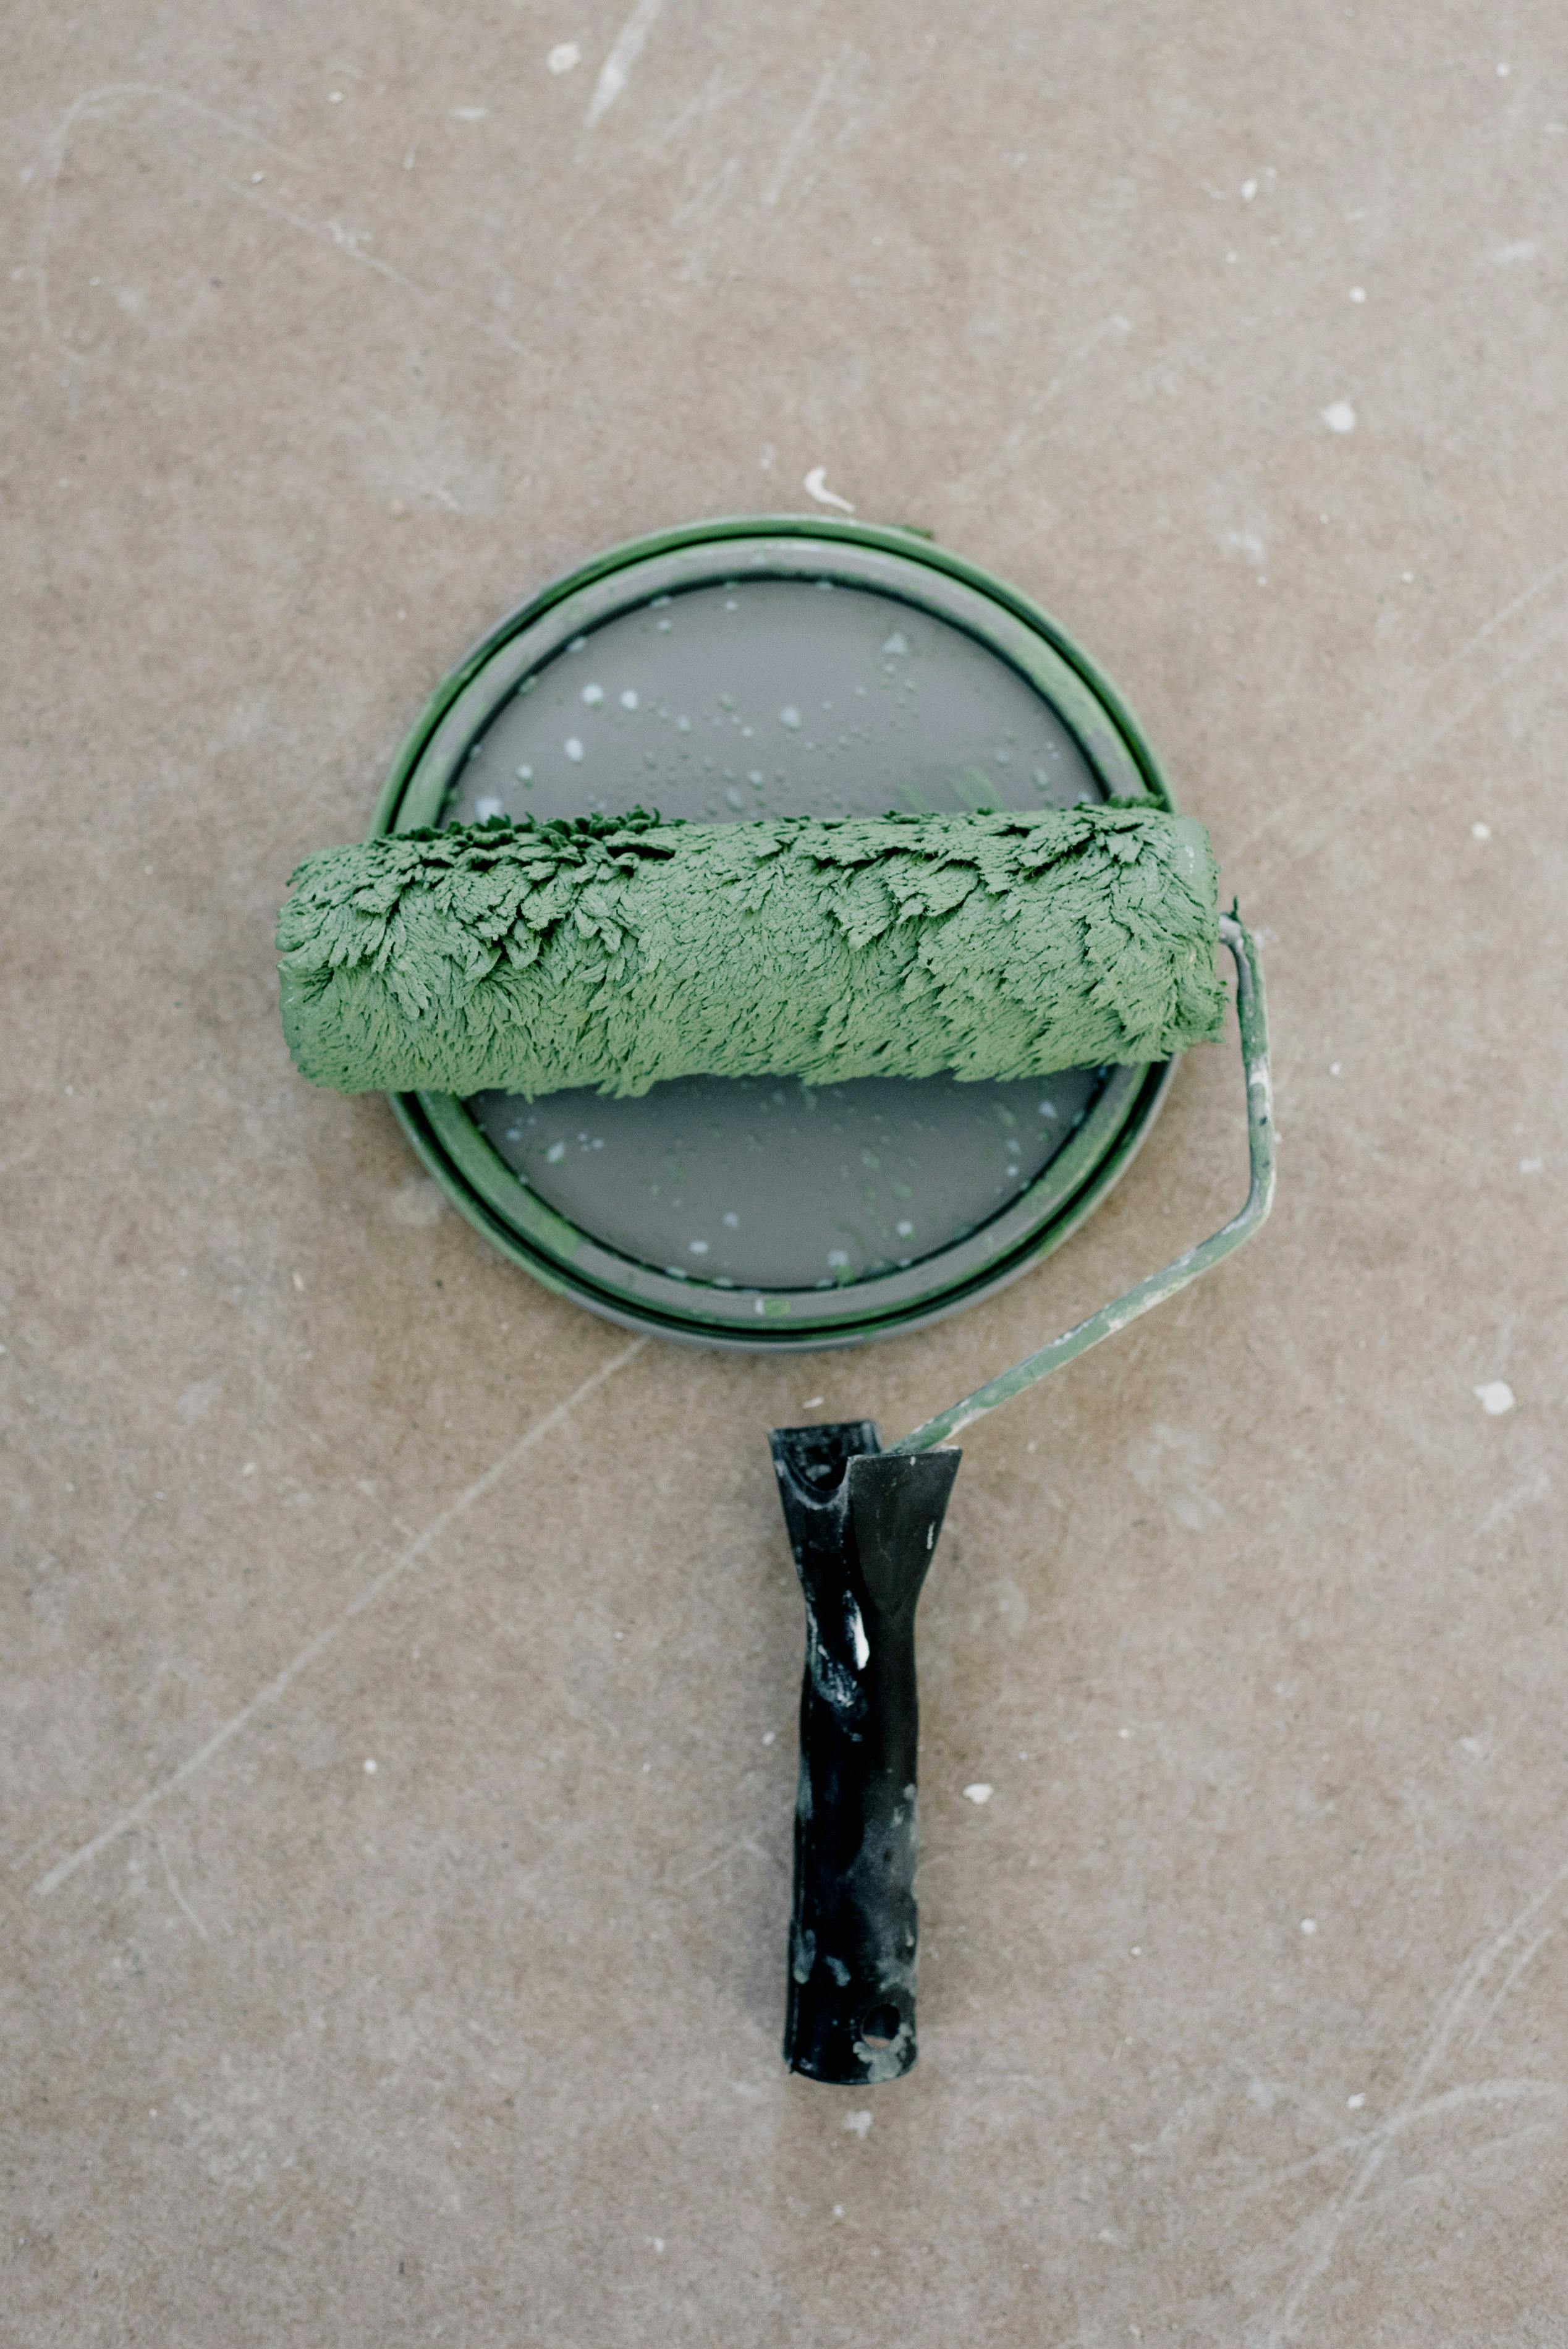
2. Brush or roller
3. Sandpaper (120-grit)
4. Paint tray
5. Clear polyurethane coat or varnish
6. A clean, dry cloth
Waterproofing MDF: Detailed Step-by-Step Process
After gathering all the required materials, you can embark on the journey of making your MDF piece waterproof. The following simple steps provide a roadmap to achieving a durable, water-resistant MDF:
Step 1: Preparation
Firstly, clean your MDF piece thoroughly using a dry cloth, ensuring there are no particles or debris. Next, sand the surface lightly with a 120-grit sandpaper. This step isn't aimed at shaping the material but rather creates a 'key' for the primer or paint to adhere to, enhancing the durability of your finishing coats.
Step 2: Priming
After sanding, coat your MDF piece with a high-quality waterproof primer using a brush or roller, ensuring every part is covered. Let the primer dry entirely as per the instructions on the tin.
Step 3: Painting
Once the primer is dry, it's time for painting. Apply a good quality waterproof paint, ensuring it covers the entire surface of the MDF. Remember, the more layers you apply, the better the waterproofing result. Allow each layer to dry fully before applying the next.
Step 4: Adding the Sealant
After drying your final paint coat, apply a clear polyurethane coat or varnish as a sealant for extra waterproofing protection. Once again, make sure to cover the whole surface and allow it to dry fully.
Wrap-Up: Maintenance and Final Thoughts on Waterproofing MDF
Waterproofing MDF is a cost-effective way of prolonging the life of your pieces, especially if they are exposed to moisture or damp environments regularly. However, even after waterproofing, remember that maintenance is key. Wipe off spills immediately and avoid leaving your pieces in high-humidity areas for extended periods.
Waterproofing MDF doesn't require any special skills; by following the steps outlined in this guide, practically anyone can achieve fantastic results. While the process does take time, the pay-off in the long run is well worth the investment. Protect your pieces, enhance their lifespan, and keep your MDF furniture looking stunning year after year!